What is a Recording in Reduct?
When you upload a video or audio file to Reduct, it lives inside what's called a Recording.
A Recording is any media file, audio or video, that gets transcribed. It can be a single file or a collection of multiple files grouped together. It is the source of truth for any operations you perform in Reduct, like transcription, translation, or summaries.
You might receive several files for one interview or session. In that case, upload all of them into a single Recording to keep everything organized.
Components of a recording
1. Transcripts
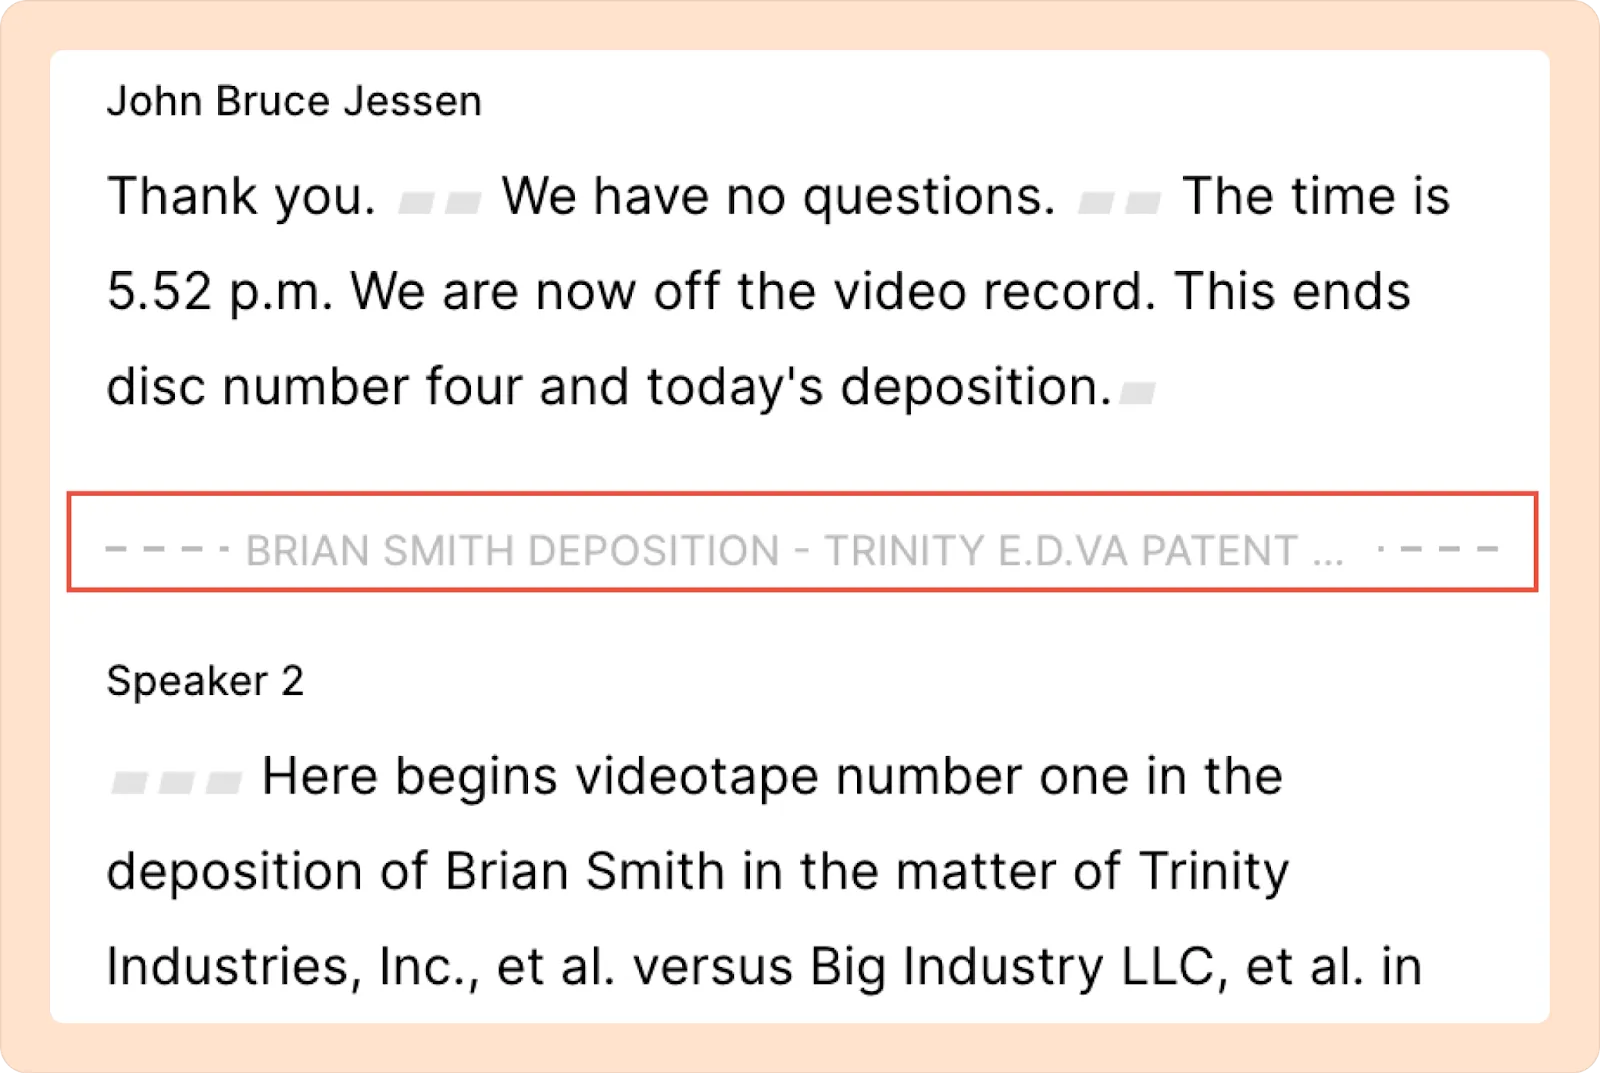
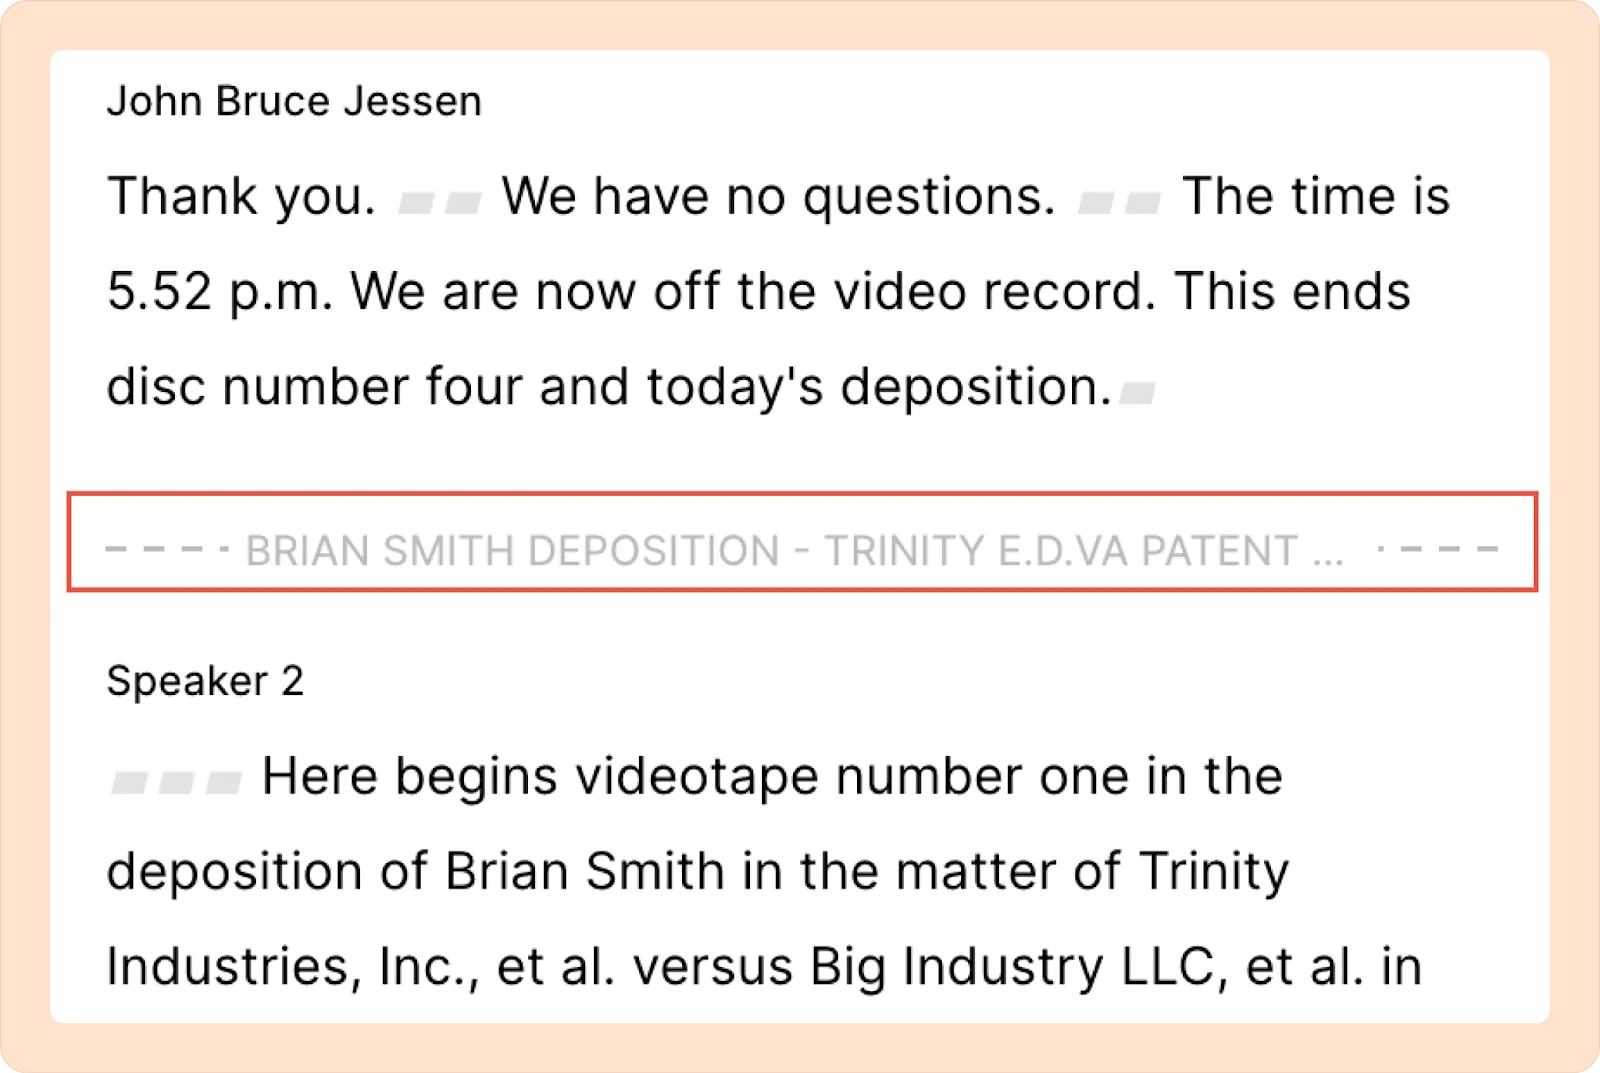
Every audio or video file you upload within a Recording is automatically transcribed. If your Recording contains multiple files, each transcript will appear one after another, separated by a clear label showing the file name.
2. Description
You can add a description to any Recording to summarize its content or include metadata.
To add a description:
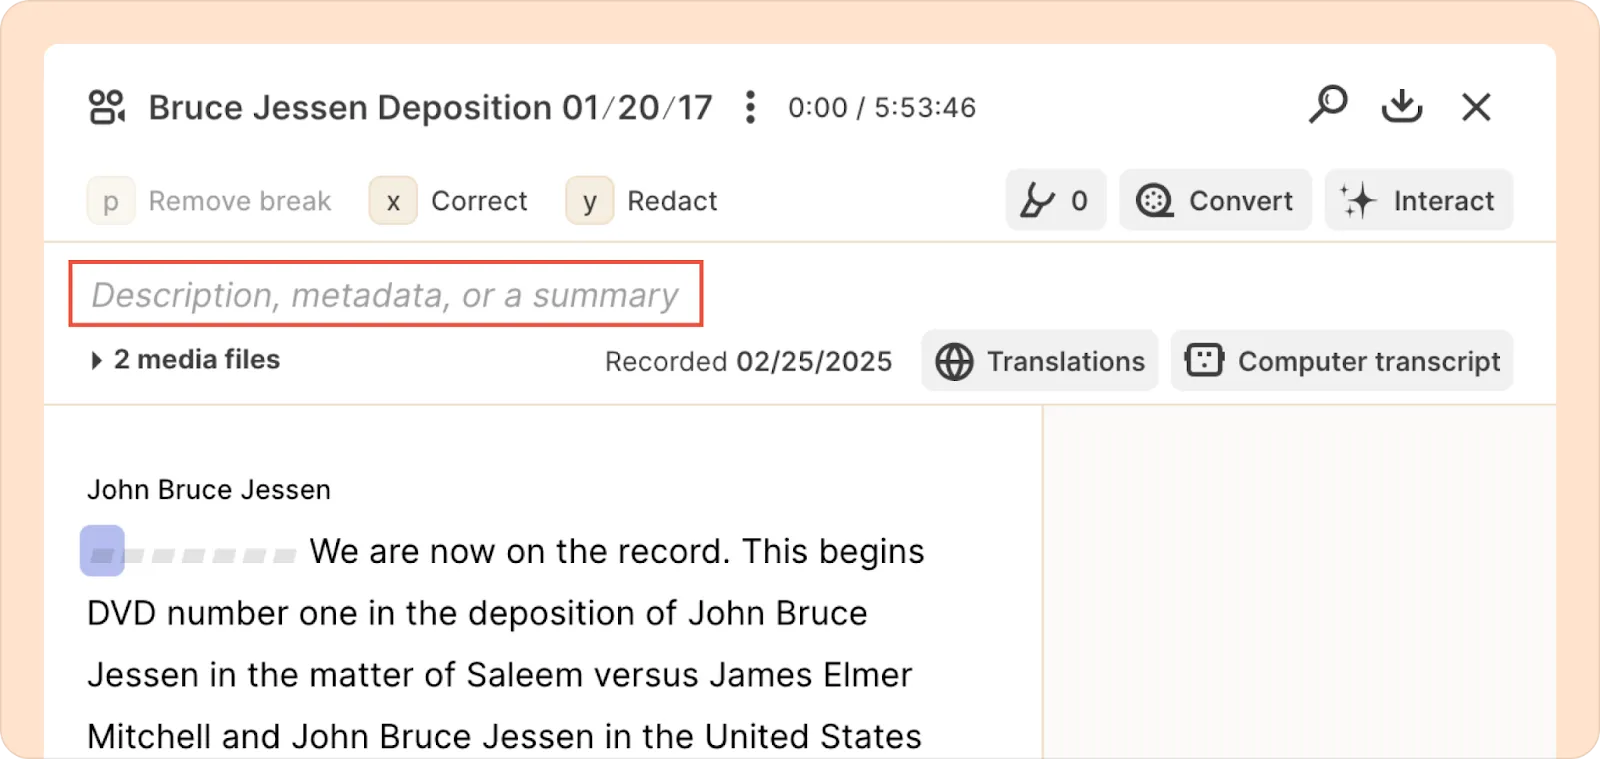
- Click on the Description, metadata, or a summary field above the media files section.
- Start typing, just like in a Google Doc. Use rich formatting like bold, italics, or bullet points to organize your notes.
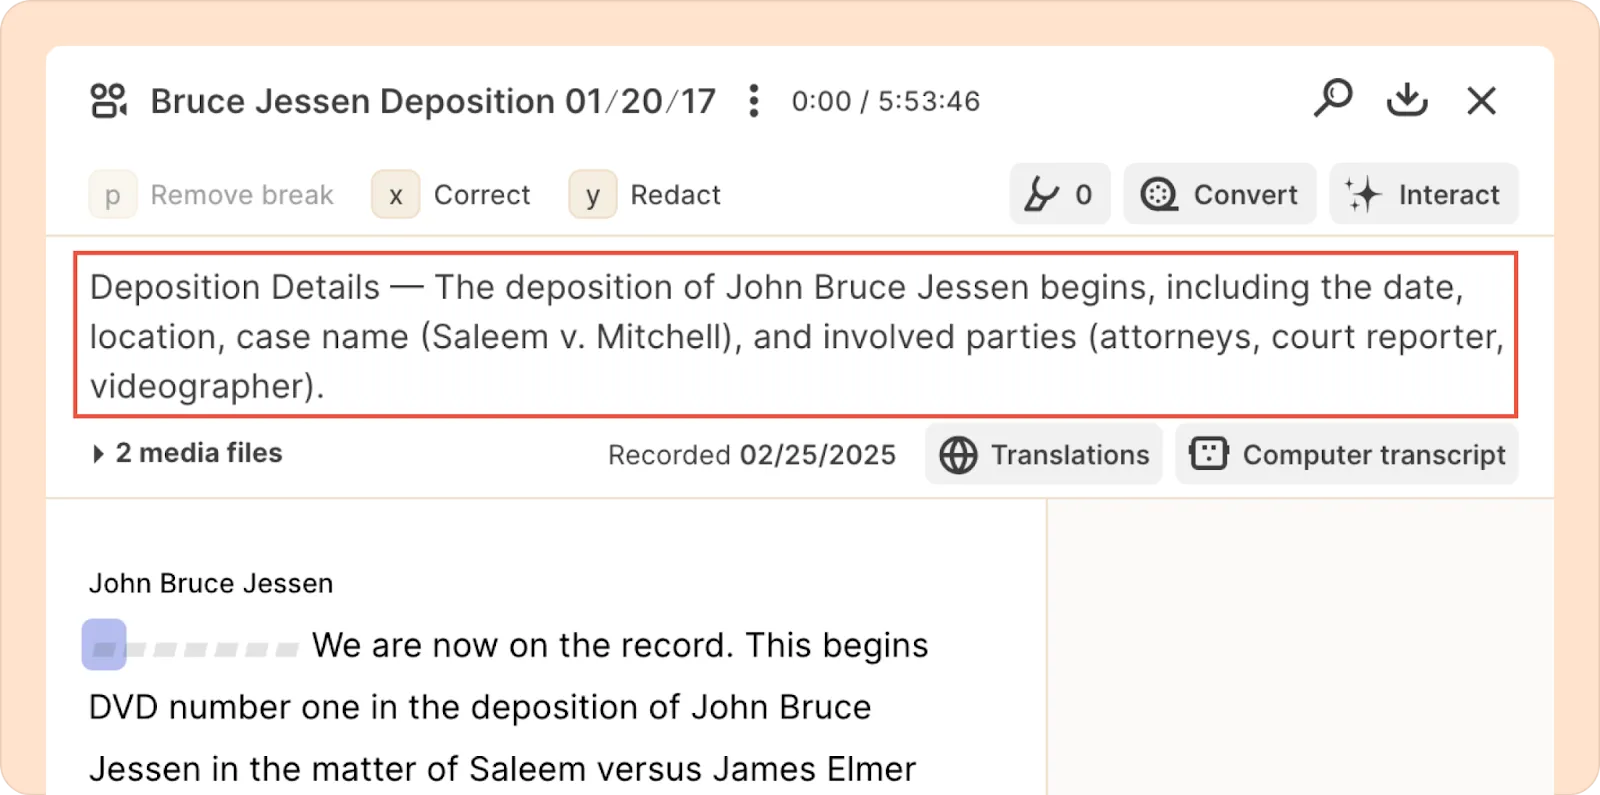
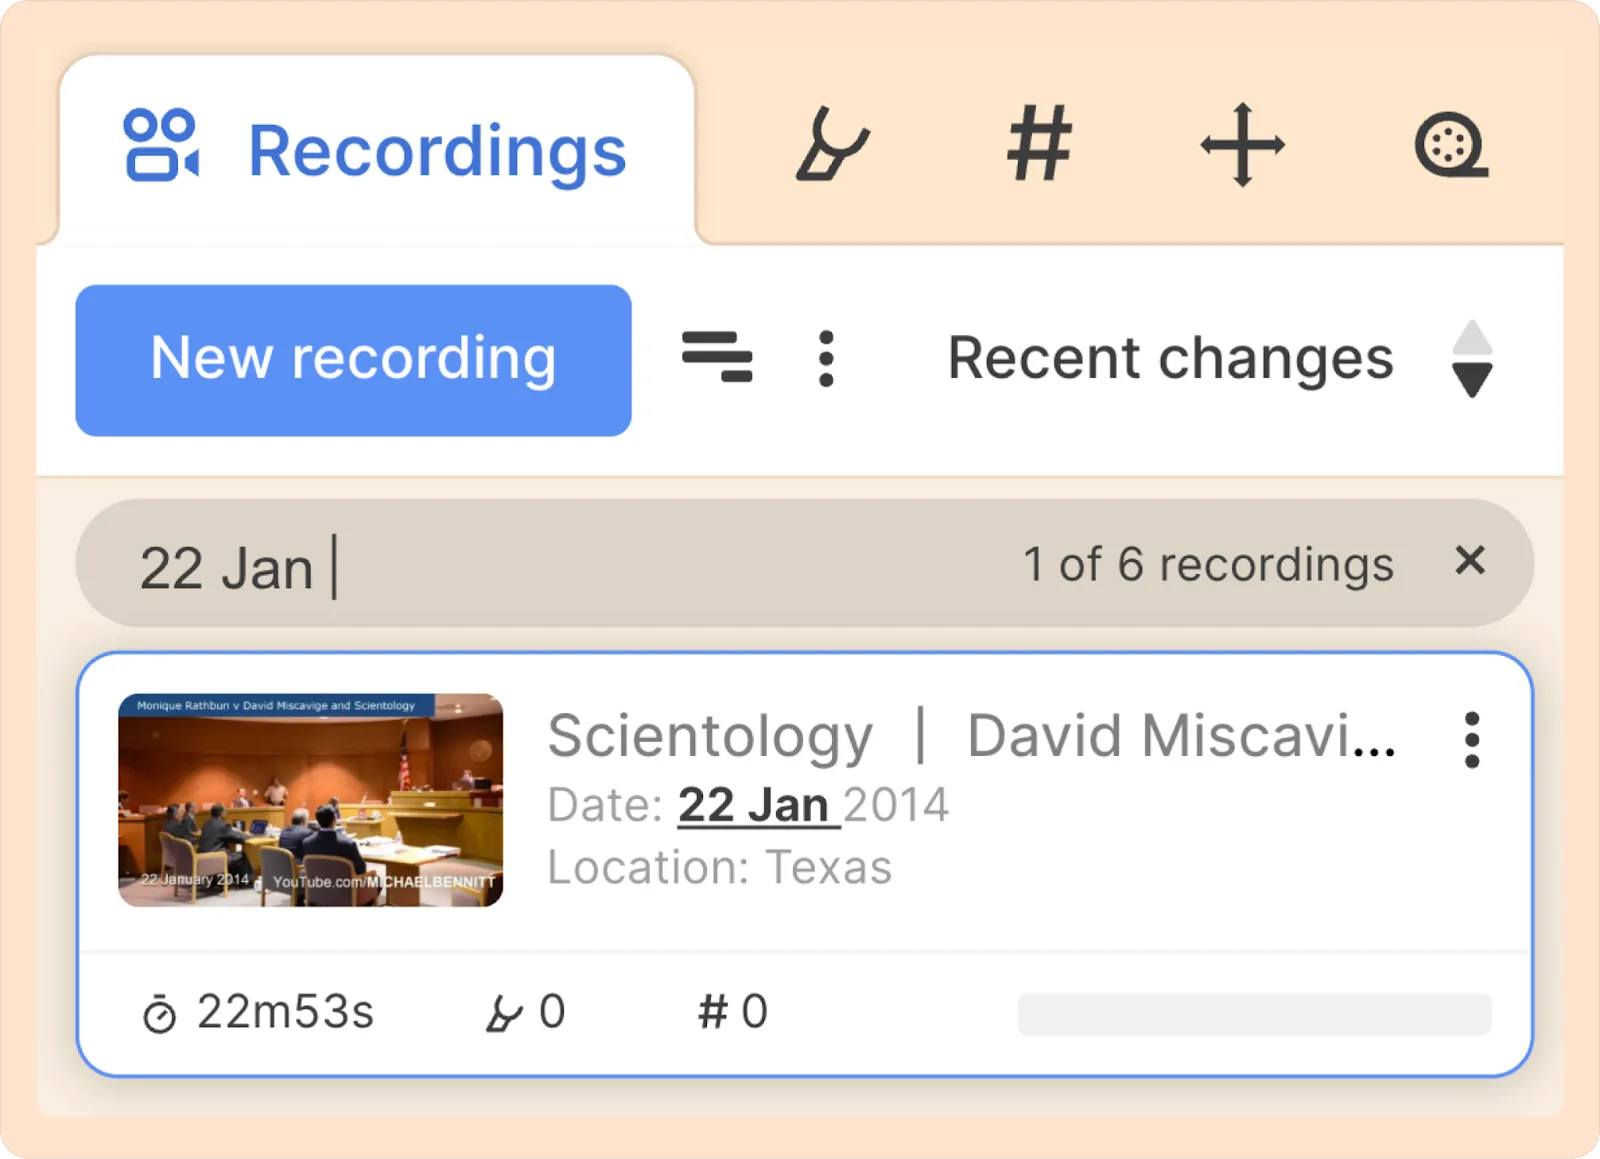
Use descriptions to filter recordings.Use the left sidebar and type in keywords from the description to locate what you need.
3. Attachments
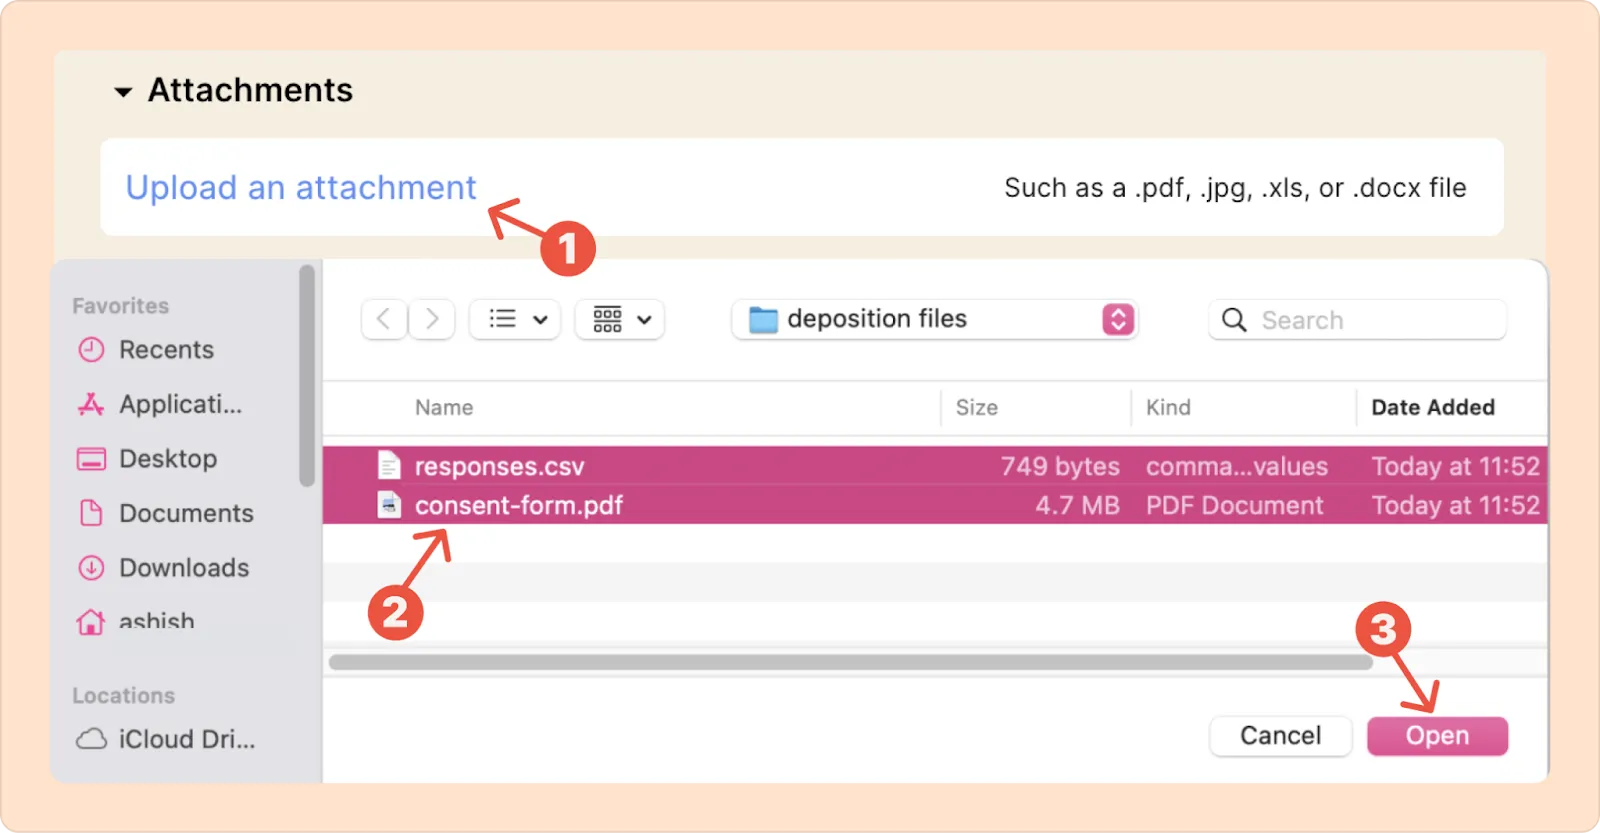
Besides audio or video files (which are transcribed), you can attach other types of files to a recording to keep everything together. Reduct supports most file types as attachments, including non-audio/visual files. Common examples include signed consent or release forms, participant photos, or supplementary evidence from a session.
You can either click Upload from computer or drag and drop files into the designated area. Each attachment can be up to 25 MB.
Attachments are not processed or transcribed by Reduct. You can download or delete an attachment by expanding the attachment and clicking the three-dot kebab (︙) menu to the right of each file.
Adding a new video or audio within a single recording
If you’ve already uploaded a media file and want to add more:
- Expand the media file drop-down on the top of the transcripts.
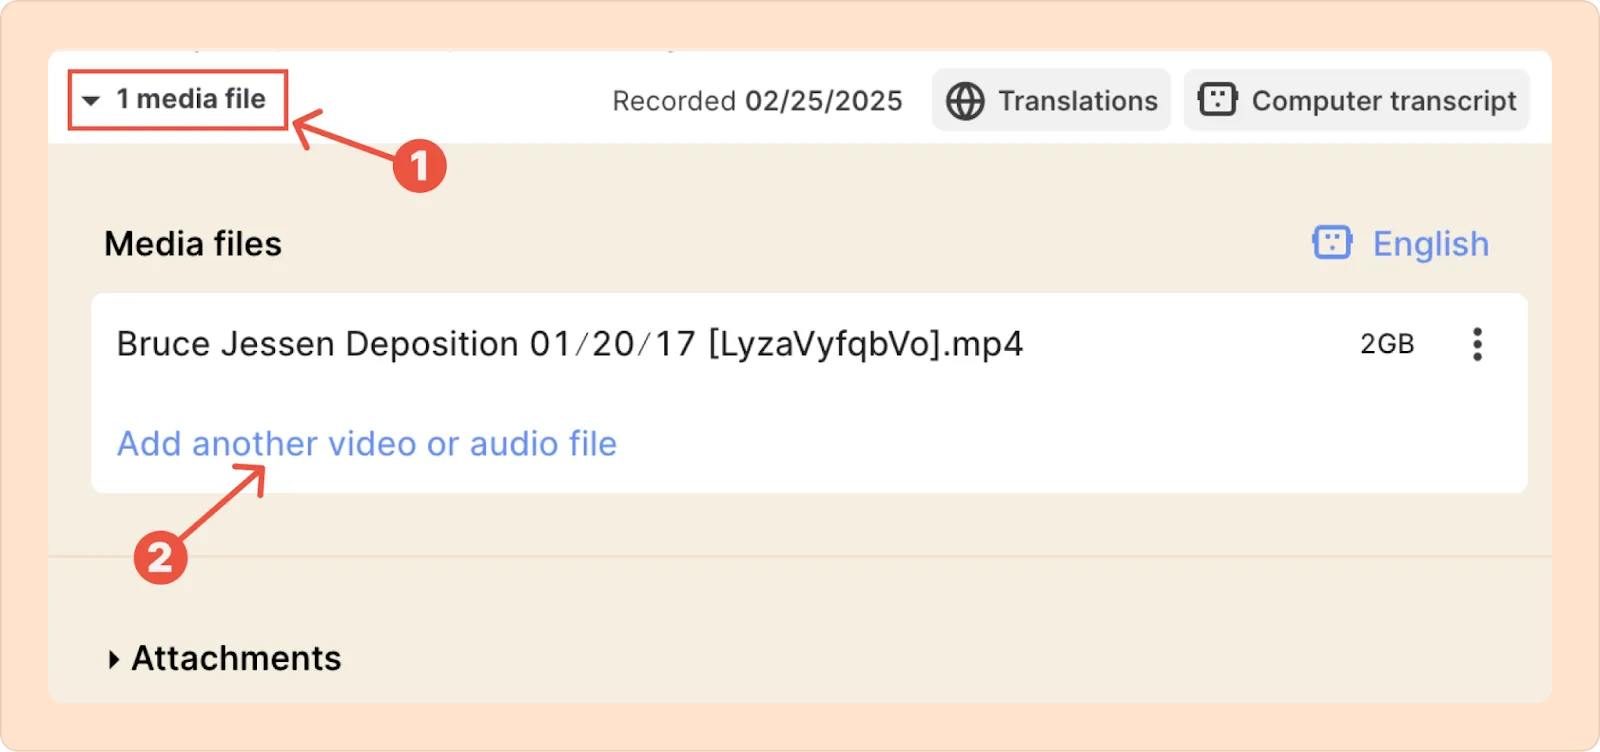
- Click the Add another video or audio file button to select new media files. This will start the transcription process for the new file.
- The new transcription will appear below the previous one, separated by the title of the media file you just added.
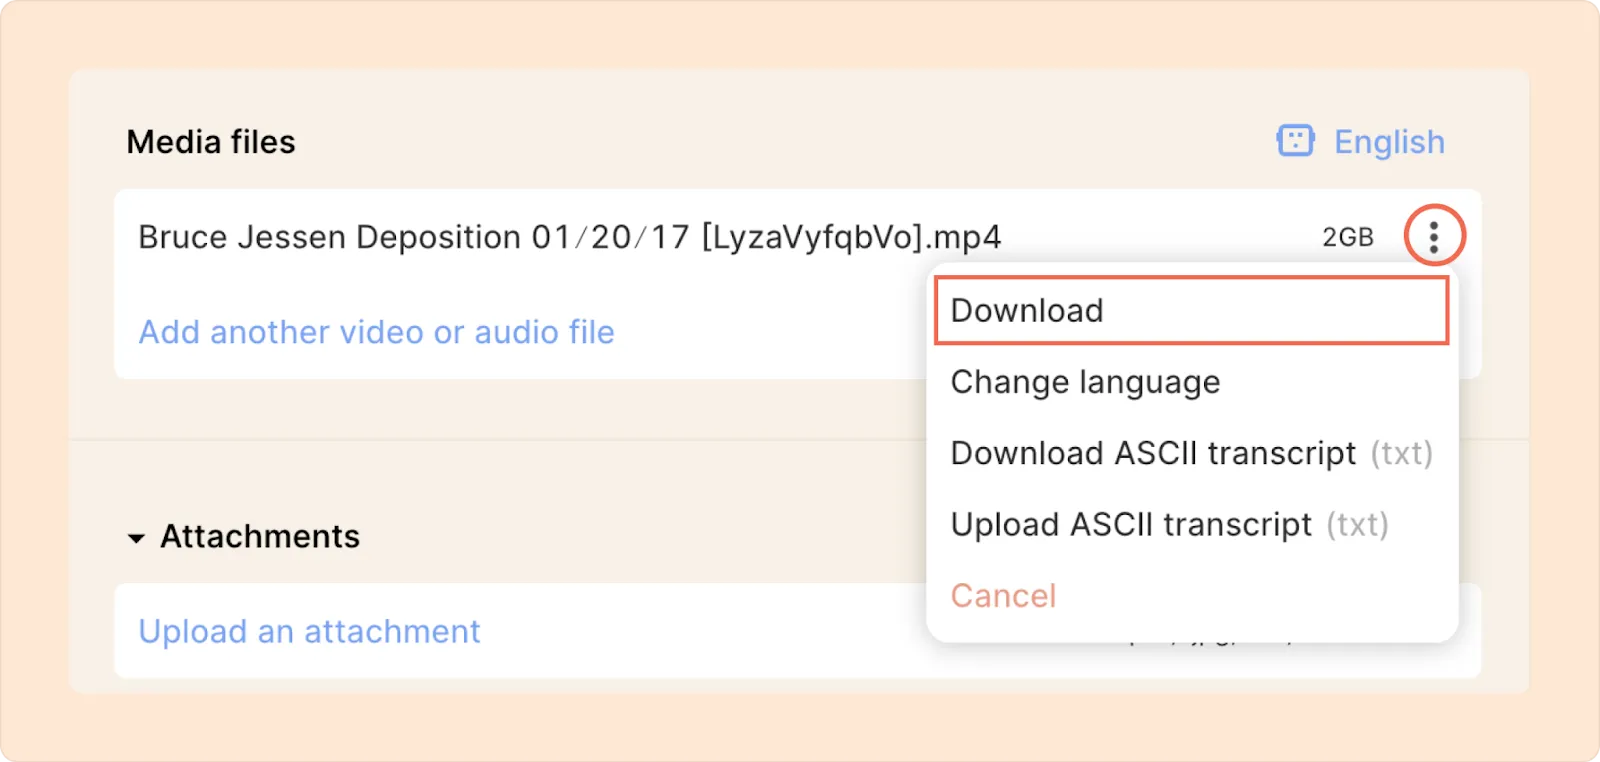
To download the original media file (without any changes), click the kebab (︙) menu to the right of your file and select Download.
