Creating and working with reels
Select from the transcript to create reels
One of the simplest ways to create a reel is by selecting text directly from the transcript:
- Select the part of the transcript you want to turn into a reel.
- Click on Add to reel.
- Type in a name for your reel and press Enter, or click Create new reel to save.

You can continue selecting additional sections from the same or different recordings in the project and add them to the reel you just created.
Other ways to create reels
You can also create reels using Highlights, Videoboards, Tags, etc.
Check out this article to learn more workflows of creating a reel.
Working with reels
Viewing and organizing reels
To view your reels, click the Reels tab (the last icon on the left sidebar).

You can rearrange the sequence of clips within a reel using drag and drop.

Splitting a reel item into multiple parts
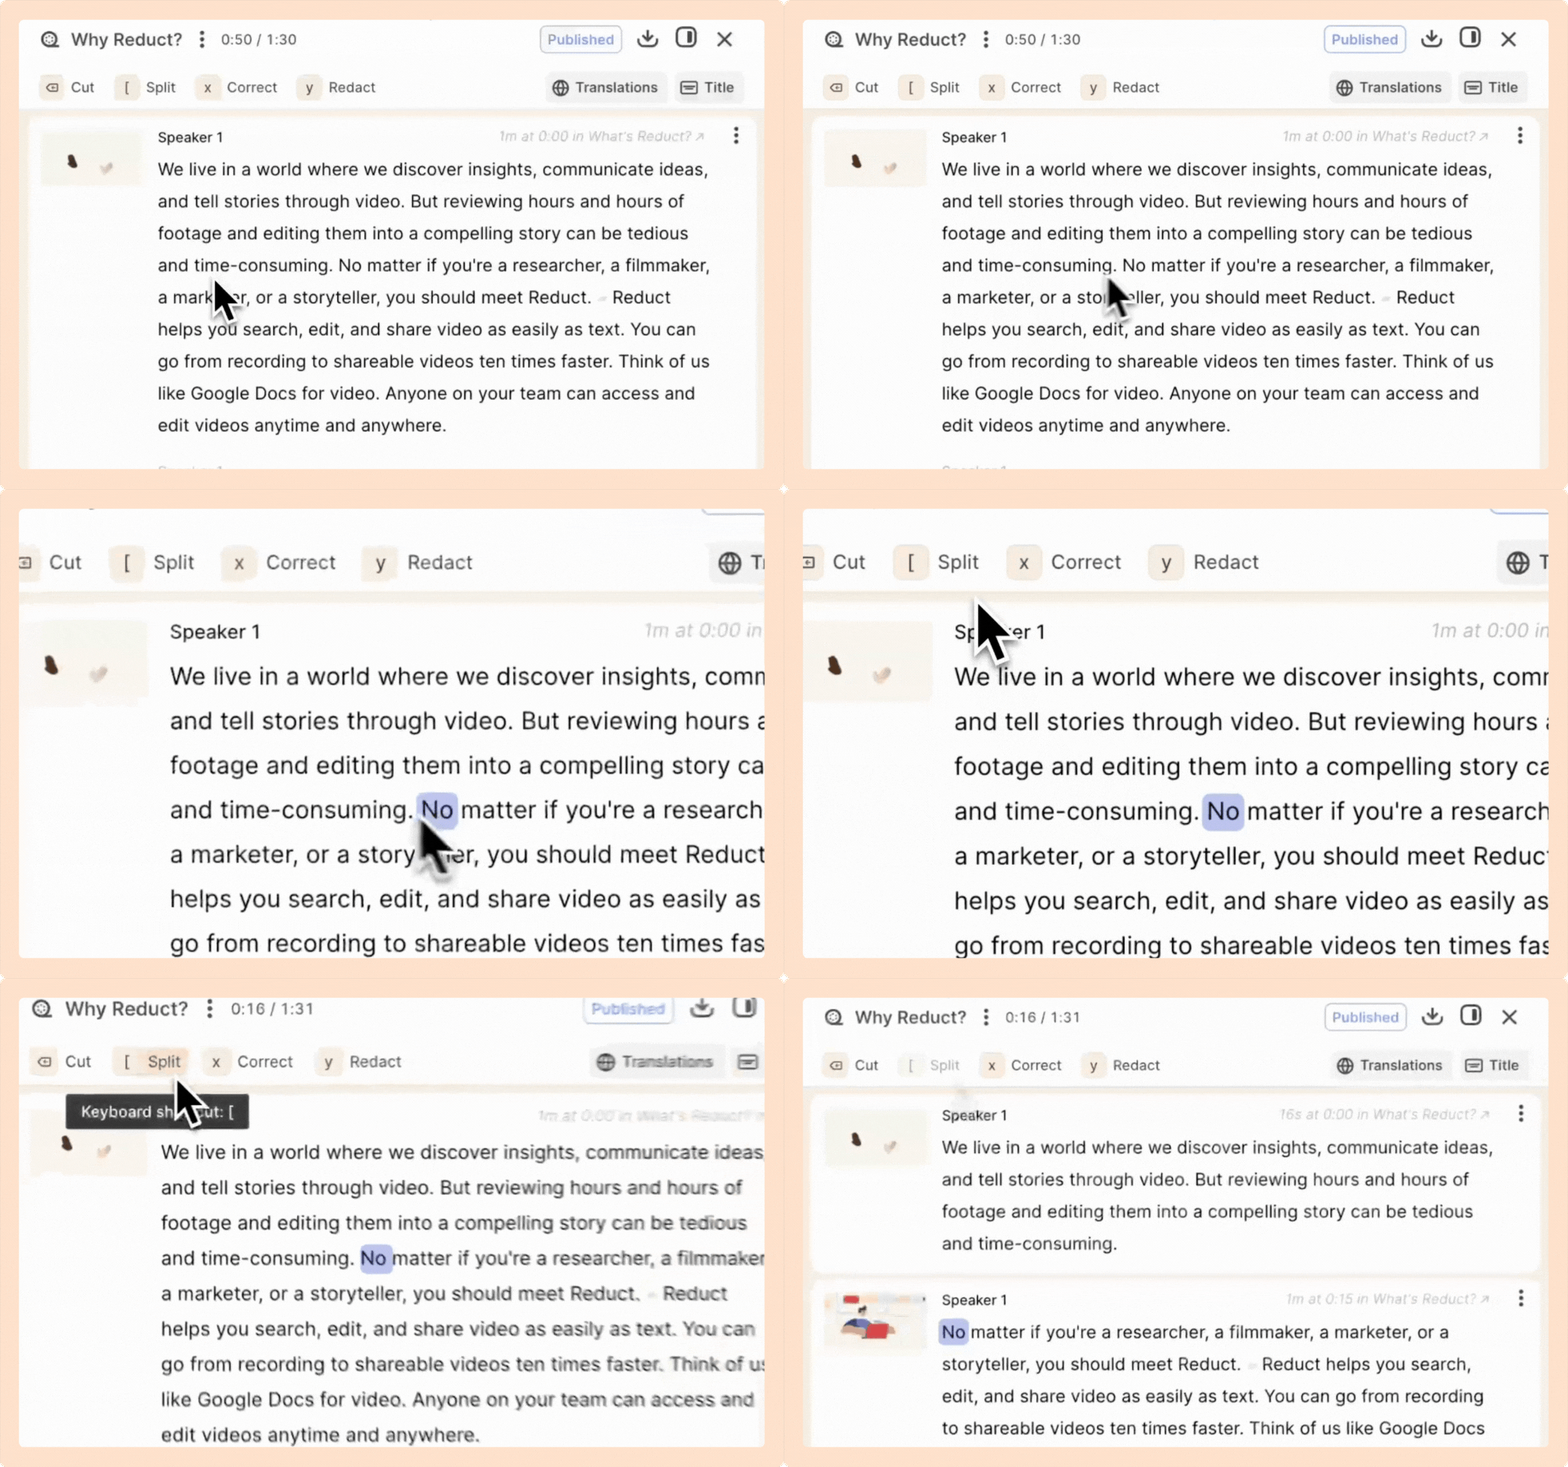
- Select the part of the transcript where you want to make the split. Alternatively, place the playhead where you want to create the split - that location will become the first word of the second half of the item.
- Click the Split button. This will divide the reel into two blocks.
Cut unwanted parts from a reel
- Select the portion of the transcript that you want to remove from the reel.
- Click the Cut button. The cutout portion will appear with a strikethrough and will be seamlessly removed from your reel.
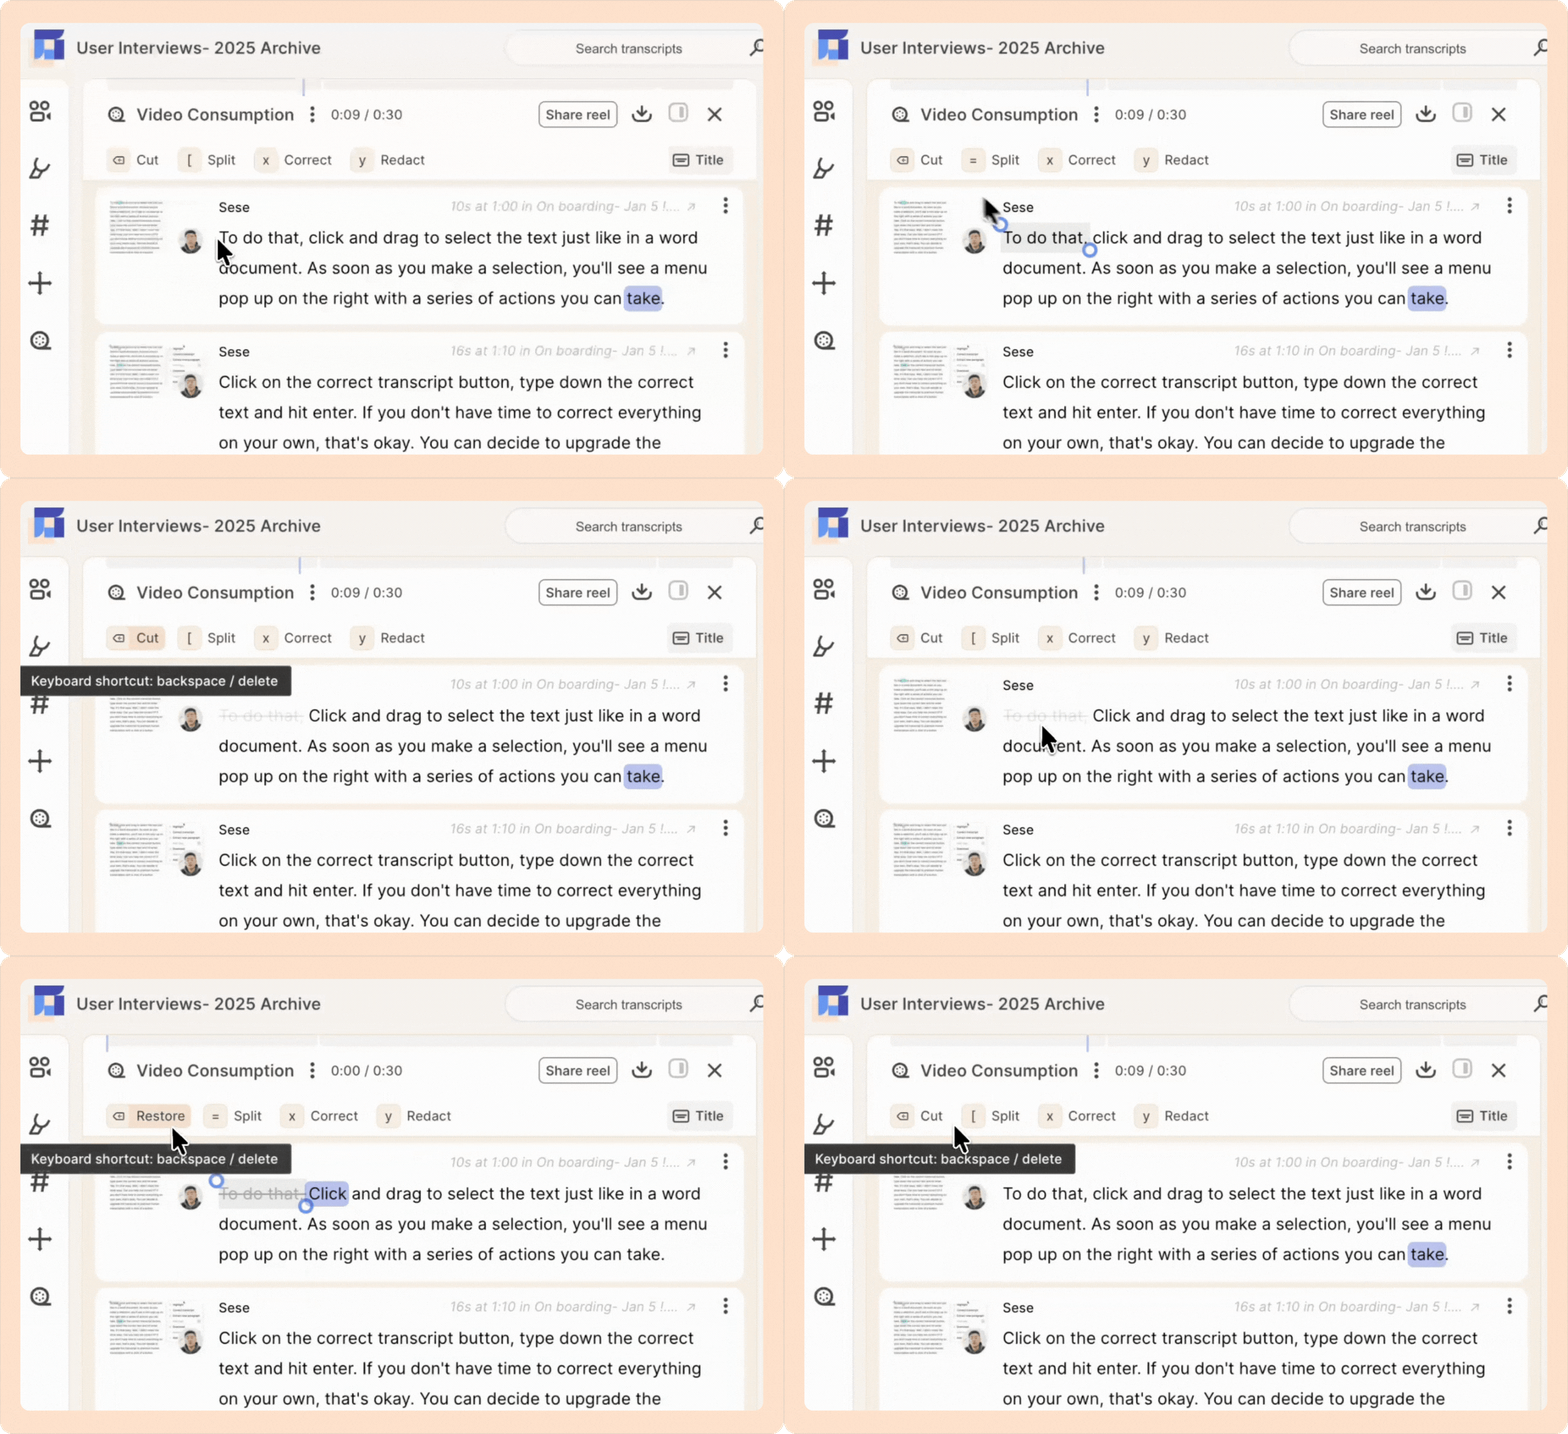
To restore the removed part, just select the cut portion and click Restore to bring it back.
Changing the thumbnail/cover image of your reel
Reduct's reel editor lets you select a specific video frame as the preview image:
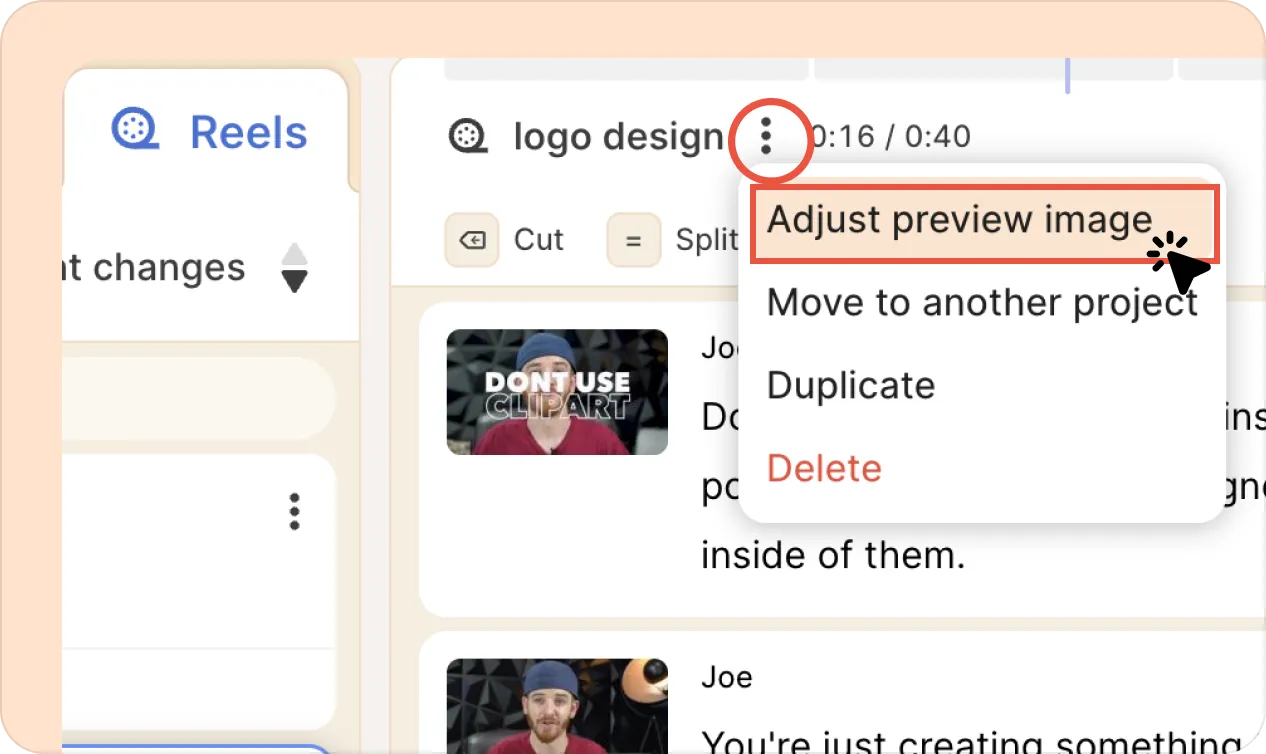
- Click the three-dot kebab (︙) menu next to your reel's name.
- Select Adjust preview image from the dropdown.
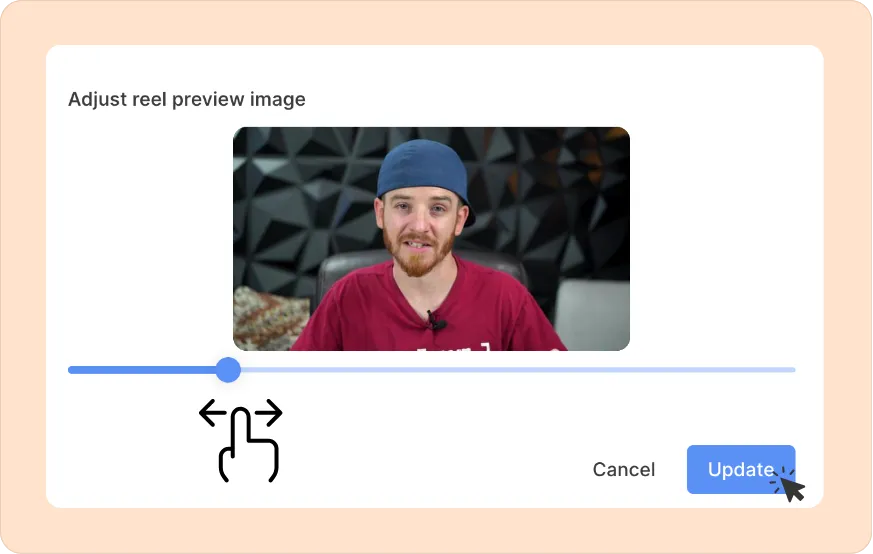
- Use the horizontal scroll bar to browse video frames.
- Once you've reached the frame you want to use as your thumbnail, click Update to save your selection.
To enhance the structure and clarity of your reel, you can also add title slides. These work well for introducing the reel, dividing sections or topics, providing a closing summary or final message
