What are Highlights?
Highlights are snippets you select from your recordings to help you:
- Save important moments for later
- Organize your material
- Quickly review and prepare to share important clips
Creating Highlights
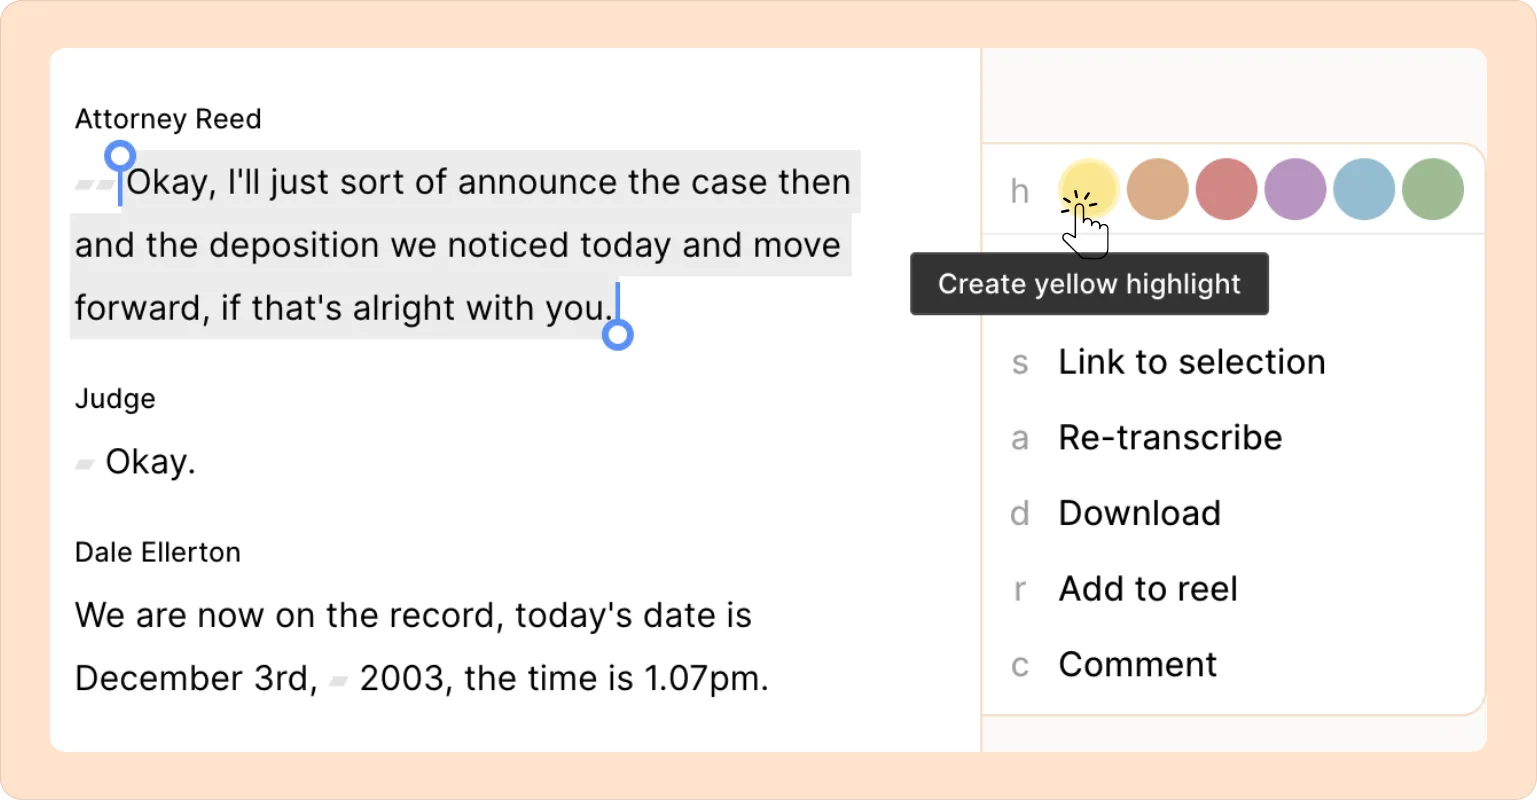
- Click and drag on the transcript to select the text - and thus time range - you want to highlight.
- On the menu that pops up on the right, either click on one of the colored dots to create a highlight of that color, or hit the h key on your keyboard.
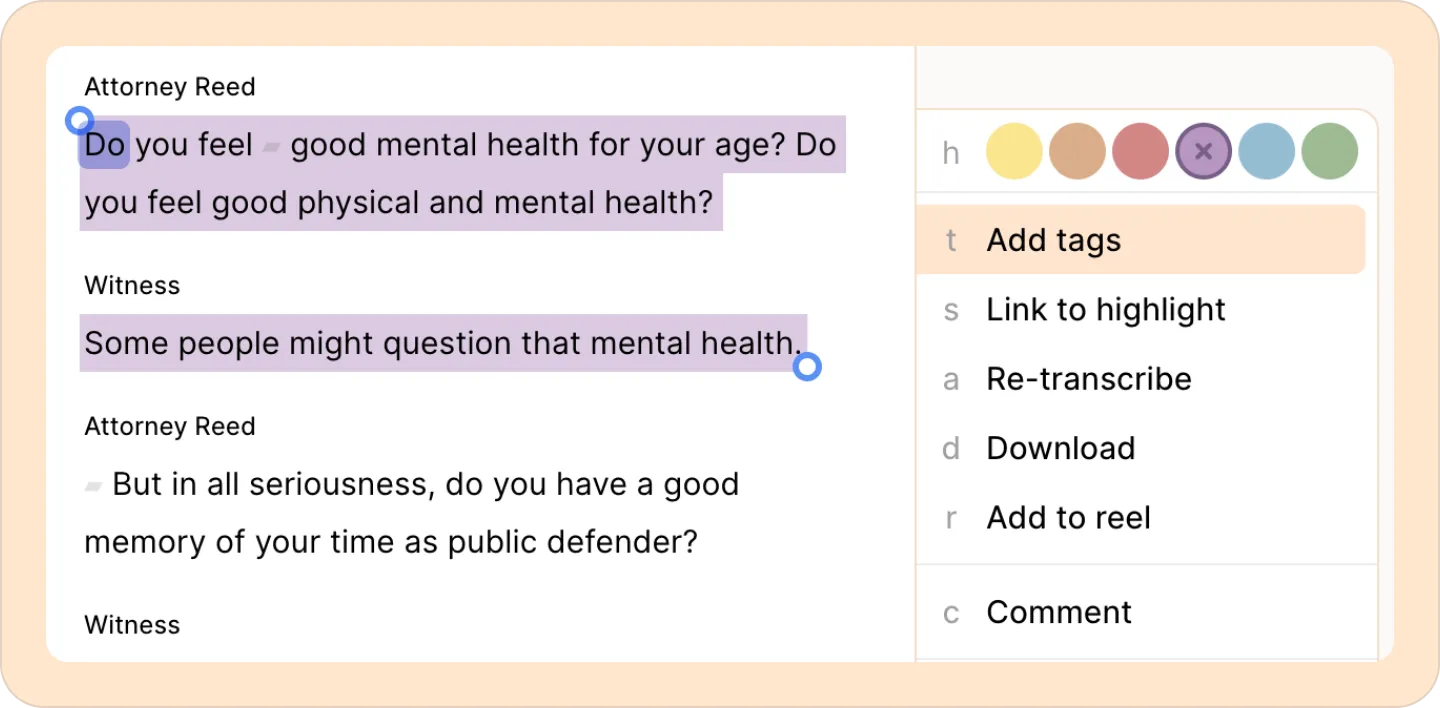
- You can change the color by clicking on any of the colors after the highlight has been created.

Color-coding in Highlights
You can assign different colors to your highlights. This makes it easy to visually group similar topics or themes. You can customize your review process based on colors to denote what matters to you.
How to use colored highlights:
- Choose from the available colors.
- Repeat for other highlights to build a visual system.
- If you want more nuance or to be more explicit, you can use tags in addition to—or instead of—colors.

Use consistent color-coding across projects to stay organized.
Finding highlights with the left-hand side panel
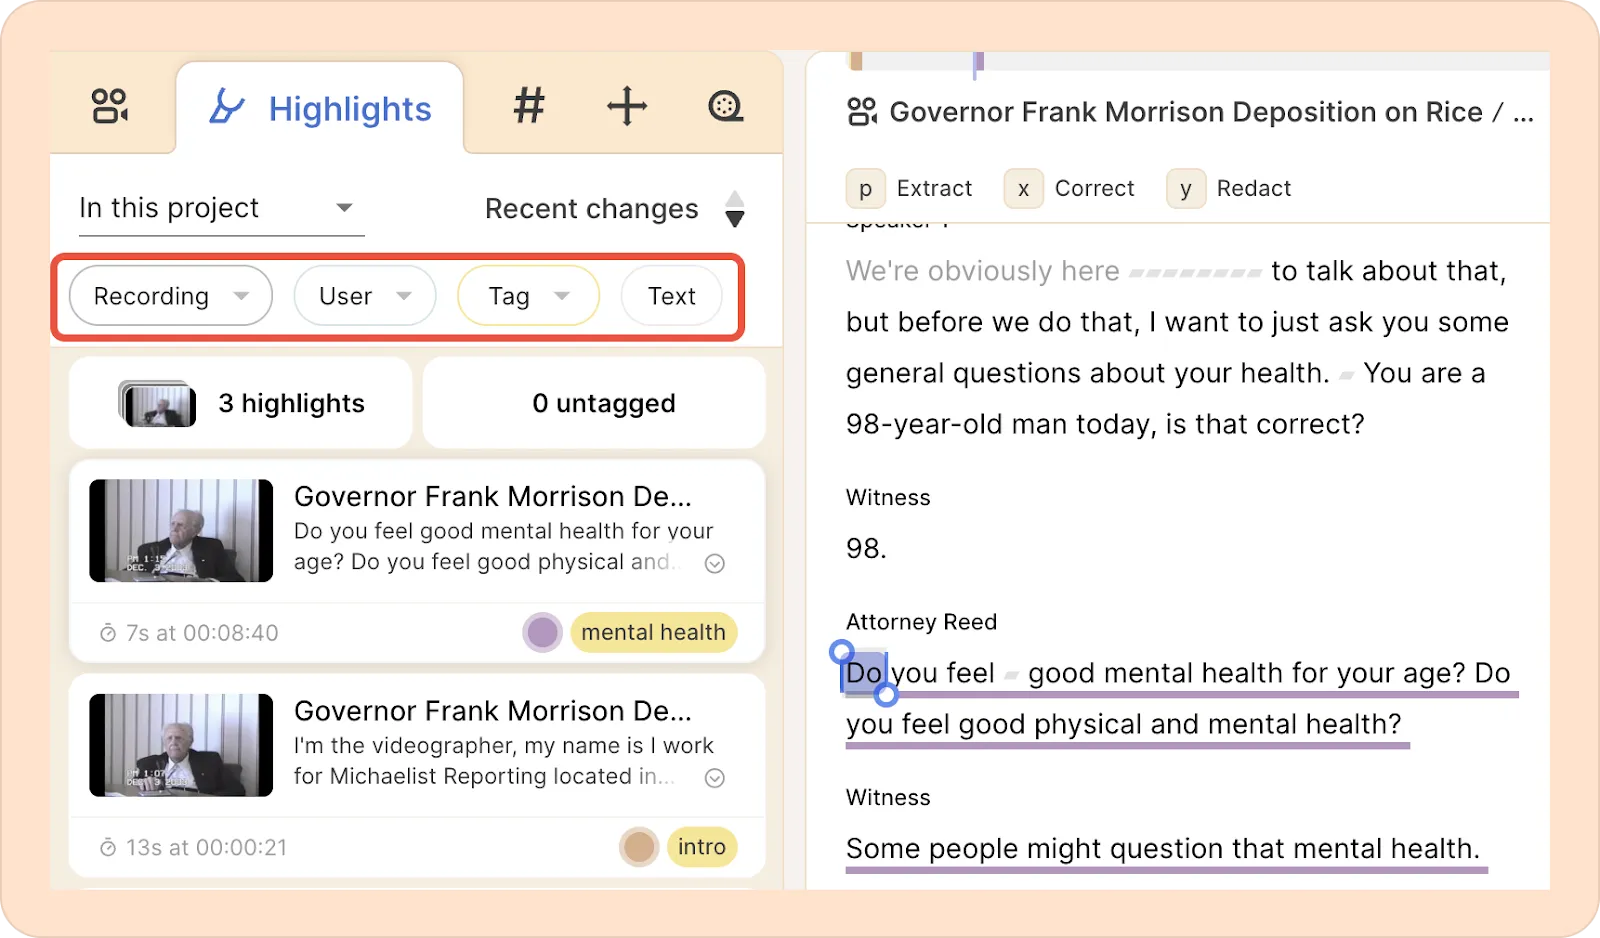
To quickly find specific highlights, head to the Highlights tab on the left-hand sidebar.
By default, you’ll see all the highlights from your current project. You can narrow things down even further using the four filter buttons just below the project dropdown:
- Recording: See highlights from a specific video or audio file.
- User: Filter highlights by who created them.
- Tag: Find highlights by the tags you’ve added, or colors you selected.
- Text: Search for highlights containing specific words or phrases.

If you view highlights from another project, just click the In this project dropdown and select a different one from the list. (This feature may not be available on all plans)
