Timeline view and Multicam sync

Once you upload all your recordings into a single project, Reduct can help you make sense of the material you have by displaying a timeline of how they relate to each other chronologically, and allows you to view multiple concurrent recordings at once.
This feature is available starting with the Professional plan. Please upgrade to the Professional plan or higher to access it.
1. The timeline view
You can access this feature by clicking the timeline icon below the filter recording textbox.

You will now see a list of all your videos, with a button to Auto-detect timestamps. Click on the button. Reduct will automatically try to infer timing for each media file.

You will now see the videos with timing metadata, organized into a timeline view. All the footage from the same event (similar data and time) will be grouped together.

Manually adding or fixing timing metadata
For videos with no embedded timing information (like recorded phone calls or video from unusual devices), Reduct will not be able to determine their timing. They will be listed under Files without timing metadata (1)at the bottom of the window. You will need to manually enter the date and time for these.
- Click on the title “Files without…” to expand that section and view all the files without timing metadata.
- Click on the Enter time metadata button for the file you would like to fix.

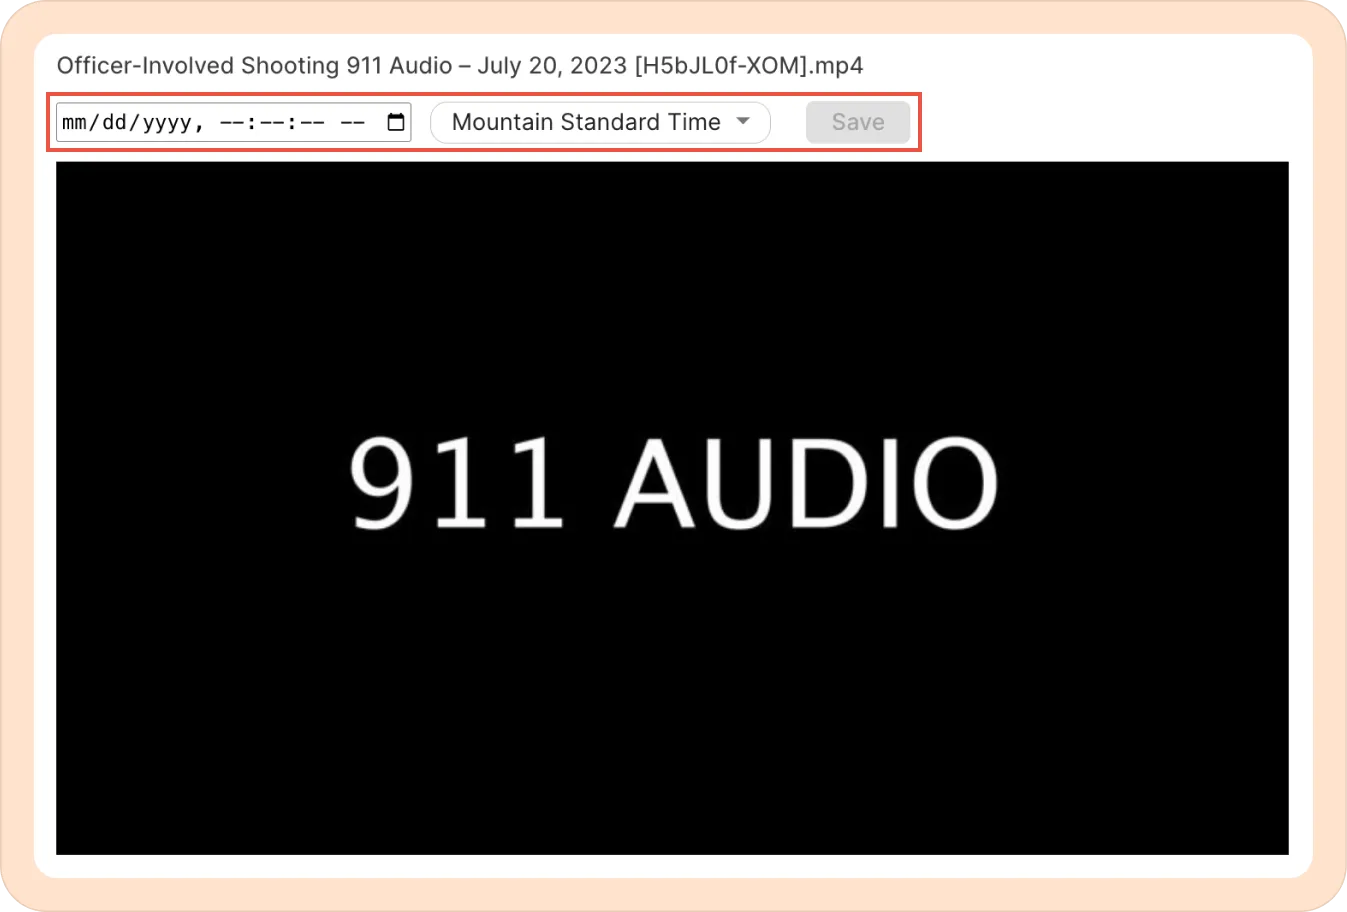
- Now, enter the date, time, and timezone, and then hit Save.
Editing the timing in the timeline view
There is also an option to edit the timing metadata of recordings that previously had timing set (automatically or manually).
Click on the timing metadata right below the name of the video. This will take you to a window where you can edit the date and time information for each media file.

2. The Multicam side-by-side view
The timeline shows "events" with overlapping video footage, one after the other.
- Select all the videos you would like to view at the same time.
- Click on the View synced video button.

Exporting the timeline view as PDF
You can export the entire timeline view as a PDF for easy sharing or reference.
The timeline view provides a clear overview of all your video and audio recordings, showing when each piece of discovery material was captured. This helps you quickly understand the coverage of your evidence, identify any gaps, and decide whether you need to request additional footage or recordings.
To export the timeline view, select all the pieces of footage you would like to export and click on the Export PDF option.

Refining the alignment
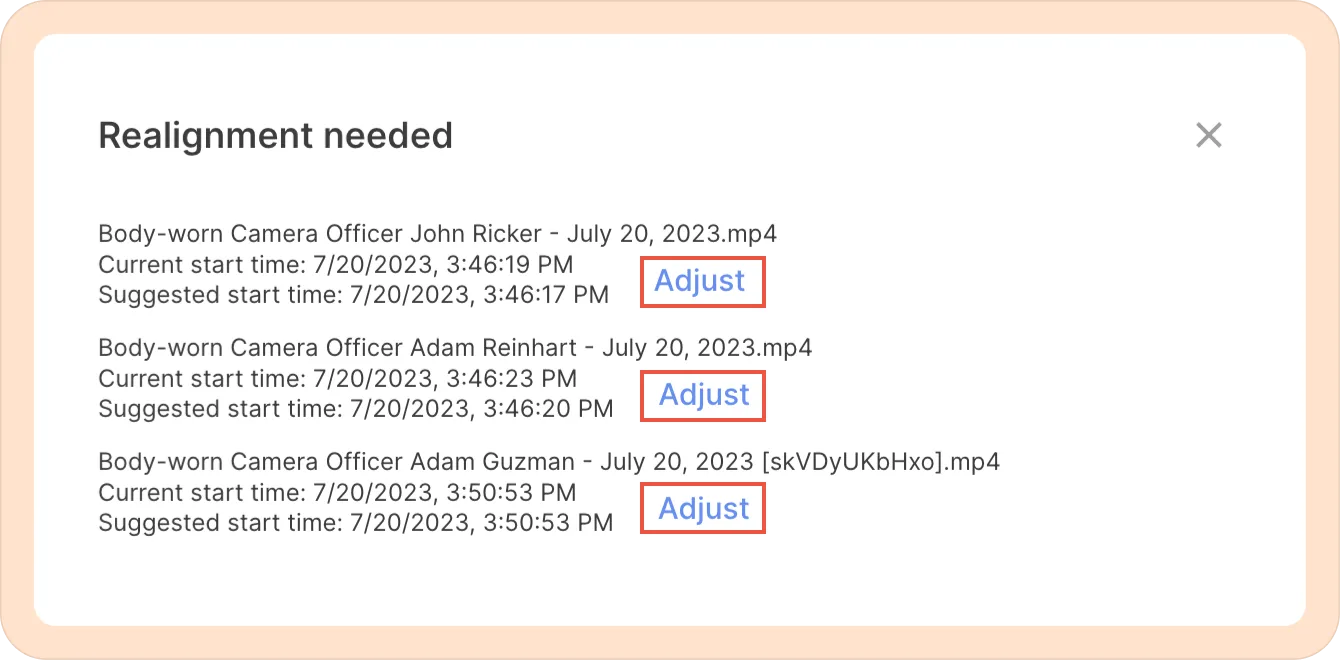
Even after entering all the timing metadata, the videos are sometimes off by a few seconds. In such cases, Reduct will automatically give you a suggestion to align them so that they are synced down to the millisecond.
Just hit the Adjust button for all the suggestions.
3. Working with the Multicam sync in Reduct
Multicam sync allows you to review footage from different angles simultaneously. By default, you will see all the footage with the transcript. You can jump to specific moments by clicking on a word in the transcript, which will take you to that moment across all files and angles.
Audio will play from the video you clicked on, while all other angles continue playing in sync. You can switch which video’s audio plays by clicking the speaker icon beside the timeline.

If you would like to hear audio from all videos simultaneously, click the Audio mode icon and select Play audio from all videos.

Choosing the layout and videos
- Select the videos that you want to view

- Review videos without the transcript

- Expand and collapse timeline
By default, you will be shown the timeline of all the footage. However, at times it may be wise to have more room on the screen to just focus on the videos itself. You can hide the timeline on top by clicking on the Change Layout icon and selecting the Collapse timeline option. To show the timeline again, follow the same steps and choose the Expand timeline option.