The video-text interface
Jumping to relevant parts using time-stamped transcript
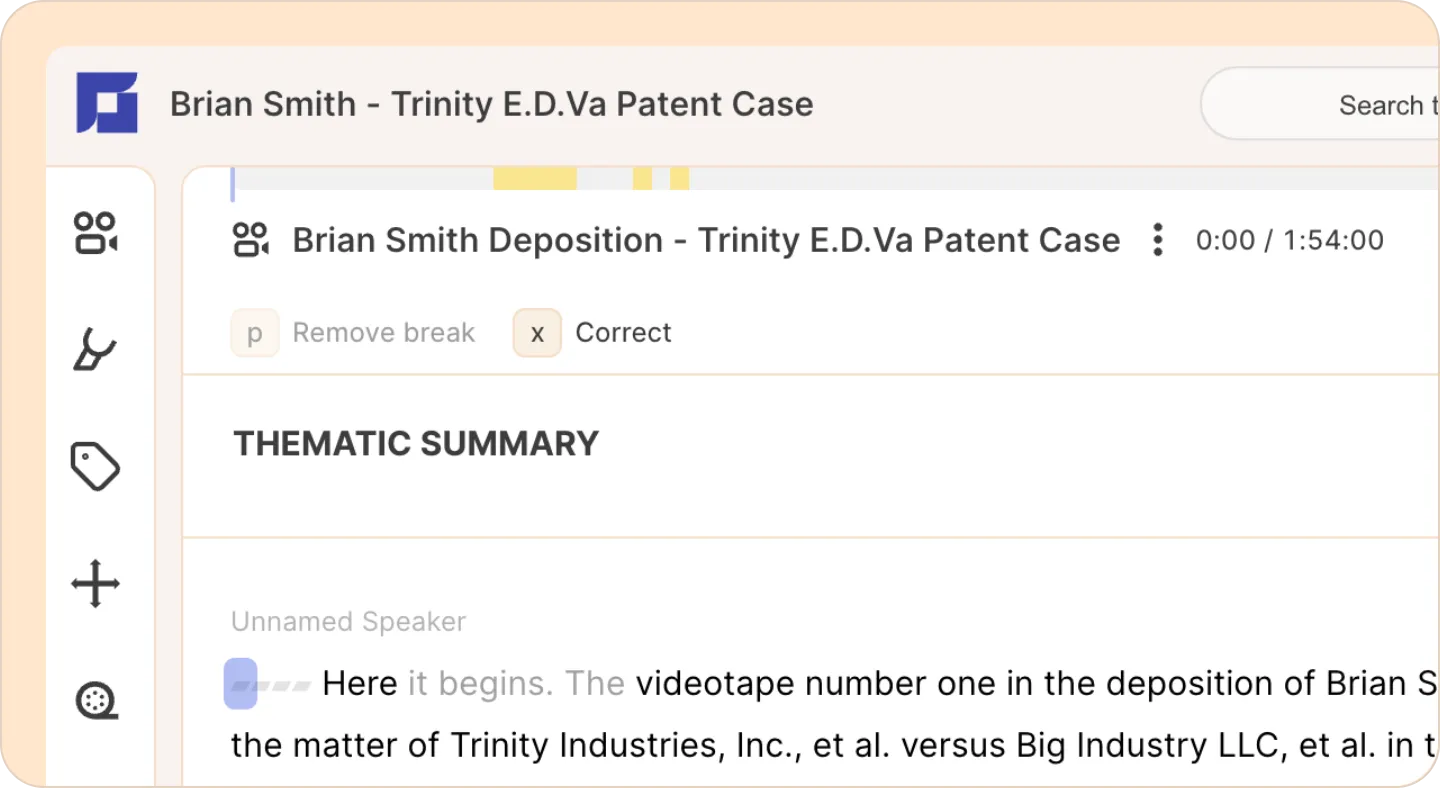
Each word in the transcript is timestamped, so you can click on any part of the text to jump straight to that moment in the recording.
Selecting the transcript to take action
To highlight, label, create clips, or perform other actions, select a portion of the transcript. This will reveal a list of options you can choose from.
You can further click on the ‘SEE MORE’ button to reveal more options.
Timeline and timestamp
You’ll find the timeline and timestamp just below the search bar at the top of your screen.
The timeline lets you quickly jump to any part of your video or audio. Click anywhere on the timeline to skip straight to that moment. You can also click-and-drag to scrub through the video.
The timestamp shows you exactly where you are in the recording, displaying the current time (where the playhead is on the transcript), and the total duration of the recording.

Adjusting video size, quality, playback speed and caption styles
You can adjust the quality & speed of the video, and toggle captions through the buttons on the media player itself.
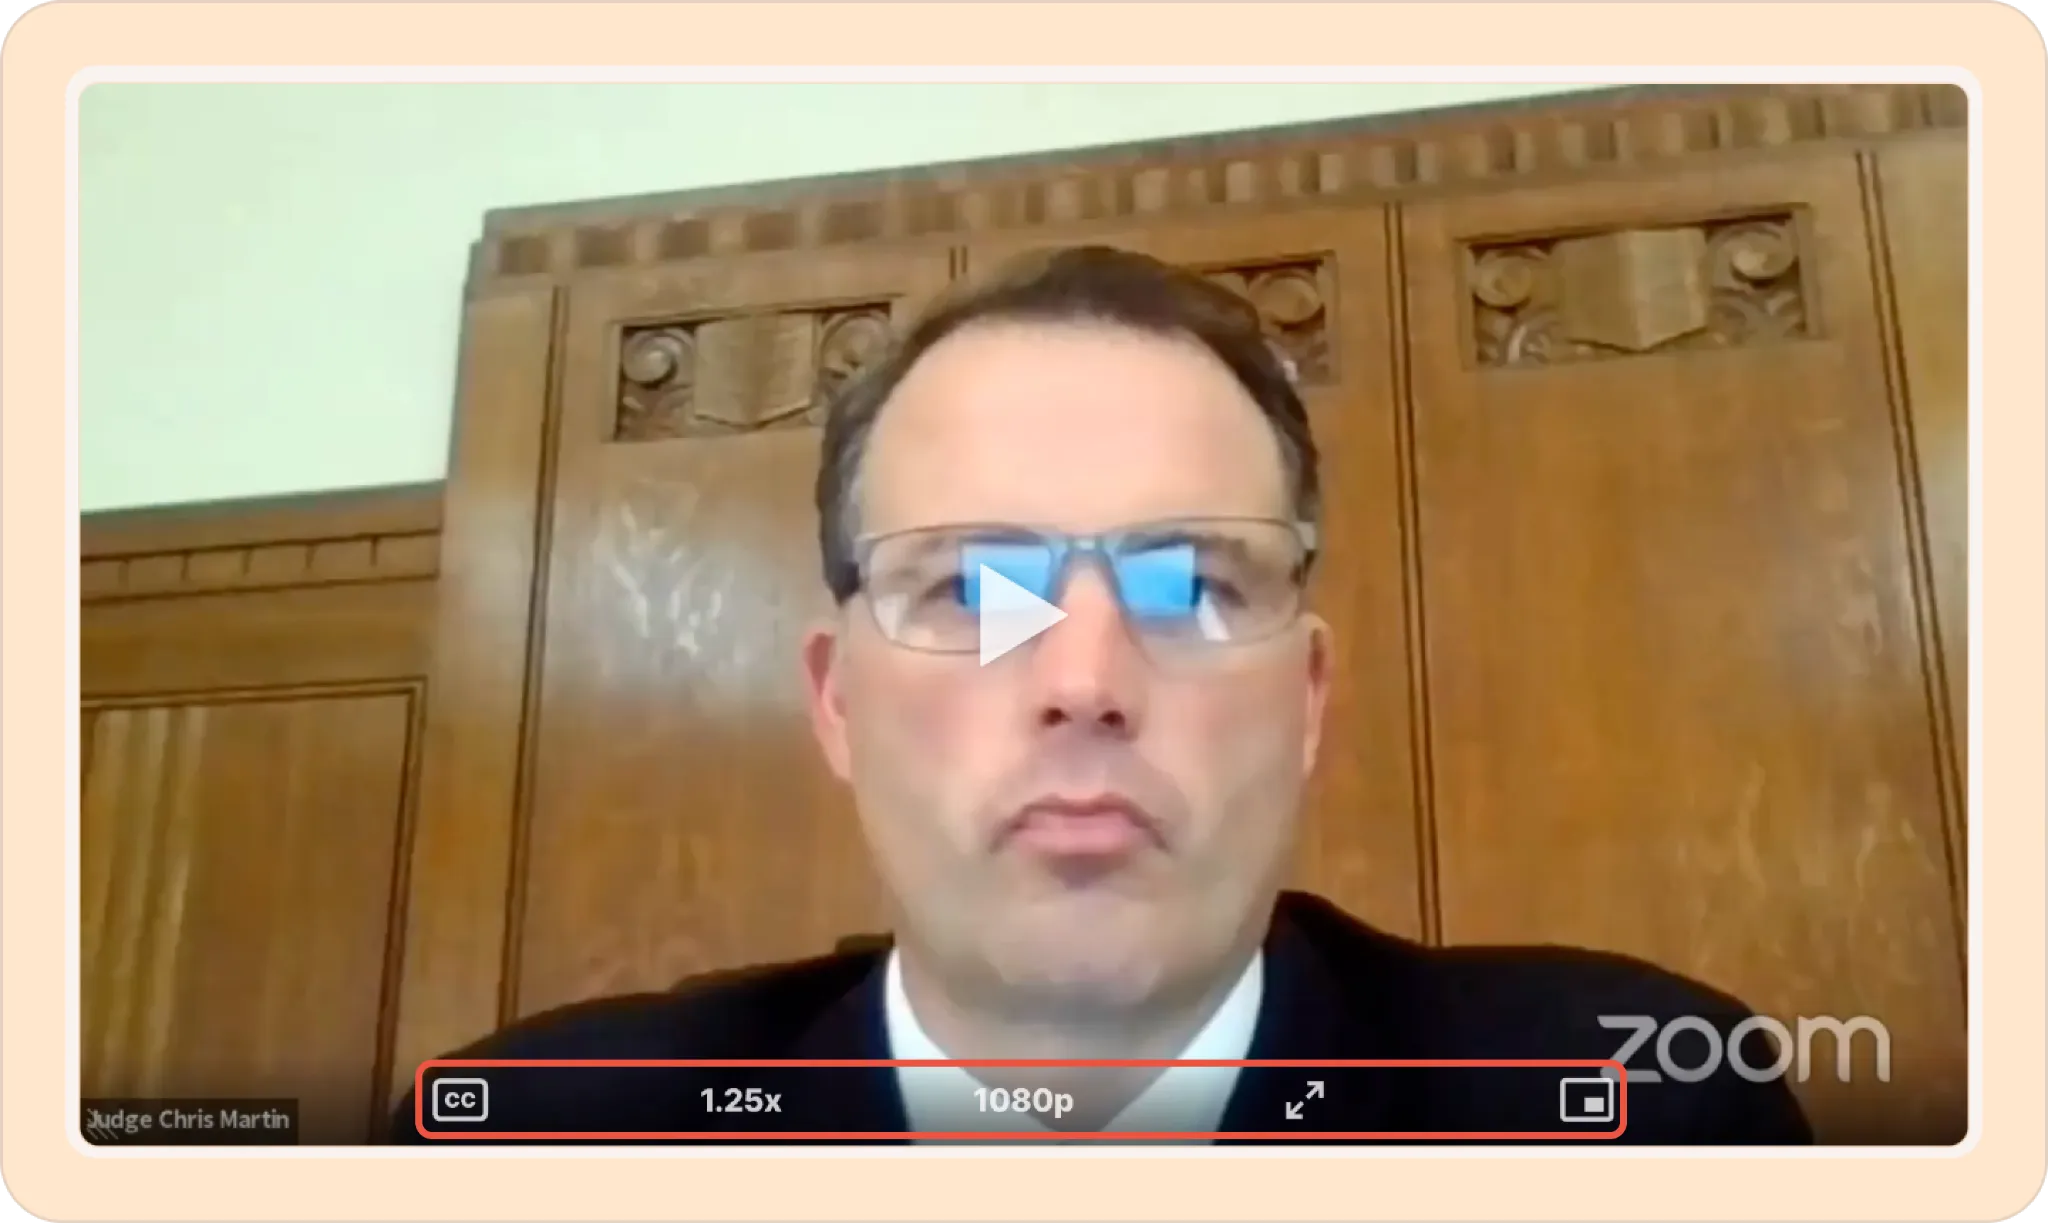
- CC - Adjust caption style, or toggle captions on and off.
- 1.25x - Make the video play faster or slower.
- 1080p - The quality of the video displayed. Note that this does not change the underlying footage; exports are at whatever resolution you select when downloading. Lower resolutions load faster.
- Full screen - Watch the video in full-screen mode.
- Pop-out - Pops out the video in a new window or lets you float the video player anywhere on the screen.
If you are at a place with a weak internet connection, we recommend switching to a lower quality to ensure a smoother experience.
Resizing the video
Grab the corner of the video player and drag it to adjust the video size.

Minimizing LHS (left-hand side)
To minimize the LHS panel, click on the icon located at the top bar, right next to your project name. This will give you more space on screen for the transcript and video player.
To reopen the LHS, click on any one of the icons of the minimized LHS.