Labels in Reduct
You can add labels to the entire recording or highlights in Reduct to help organize and make sense of your content.
Adding labels to a recording
- Open the recording you want to label.
- In the top right of the transcription window, click the Label this recording box.

- You can now select a color or type in the name of a label; if an existing label matches that name, it will be applied; if not, you have the option to create a label.

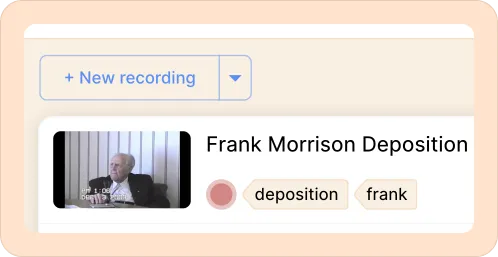
The recording labels will now be visible beside the recordings in the LHS panel.
Labeling multiple recordings at once
You can apply the same label to several recordings in one go.
Approach 1: Labeling all the recordings during upload
You can add labels to your files before they're uploaded. In the batch upload modal, scroll down the queued files and click + Label these [n] files. You can then add colors or custom labels to all the recordings at once.

Approach 2: Labeling all the recordings after the upload
- Click the Select button in the left-hand side panel.

- Select all the recordings you want to label.
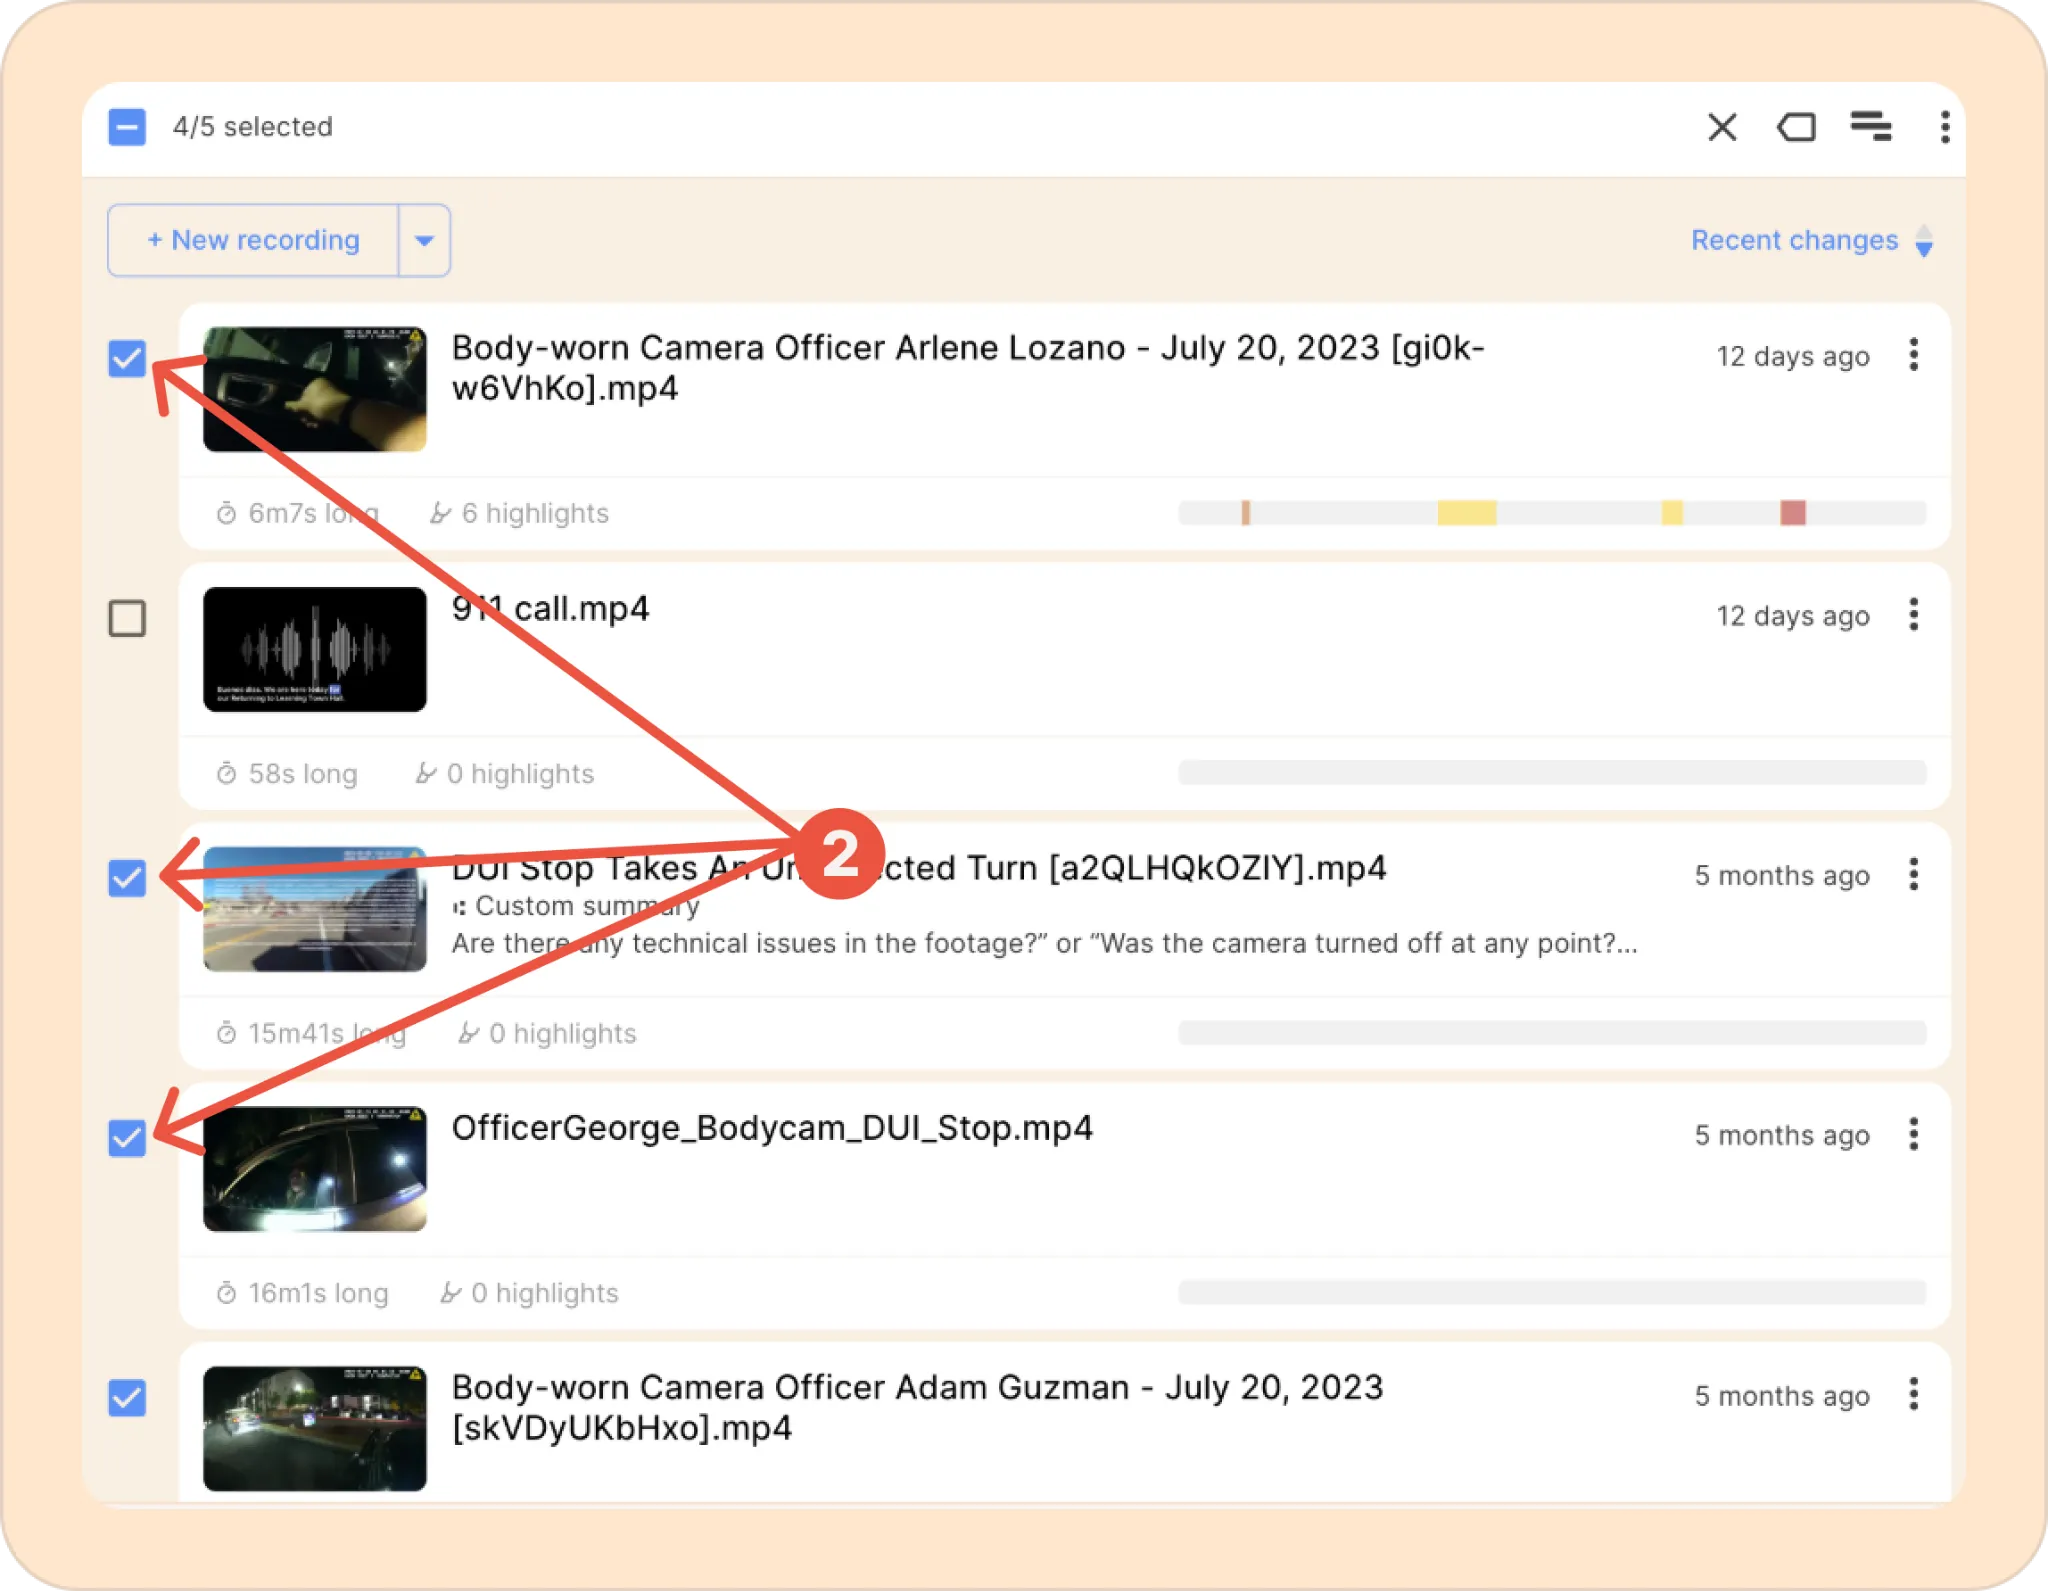
- Click on the Manage labels icon.

- Select a color or type in a custom label to apply it to all selected recordings.

Adding labels to a highlight
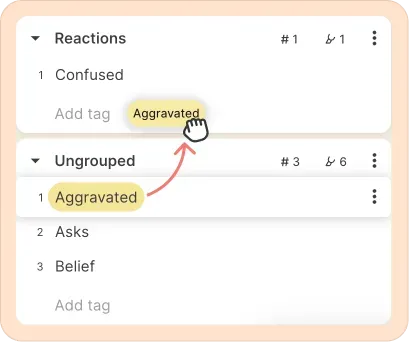
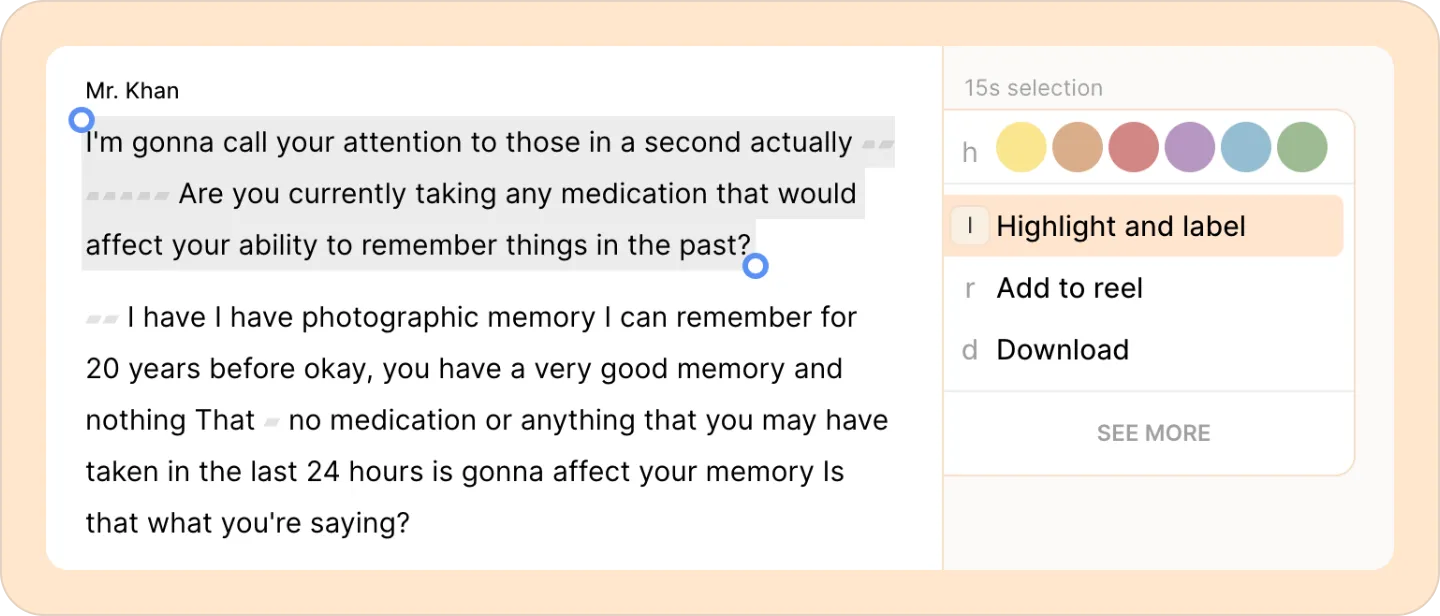
- Select the part of the transcript you want to add a label to, or click on an existing highlight.
- Click on Highlight and label. This will automatically highlight the selected portion if it hasn’t already been highlighted, and open the label picker.
- Now type in the label you want to assign to that highlight. You’ll see existing labels show up as you type, or you can create a new one by clicking on Create new label. You can add multiple labels to the same highlight.
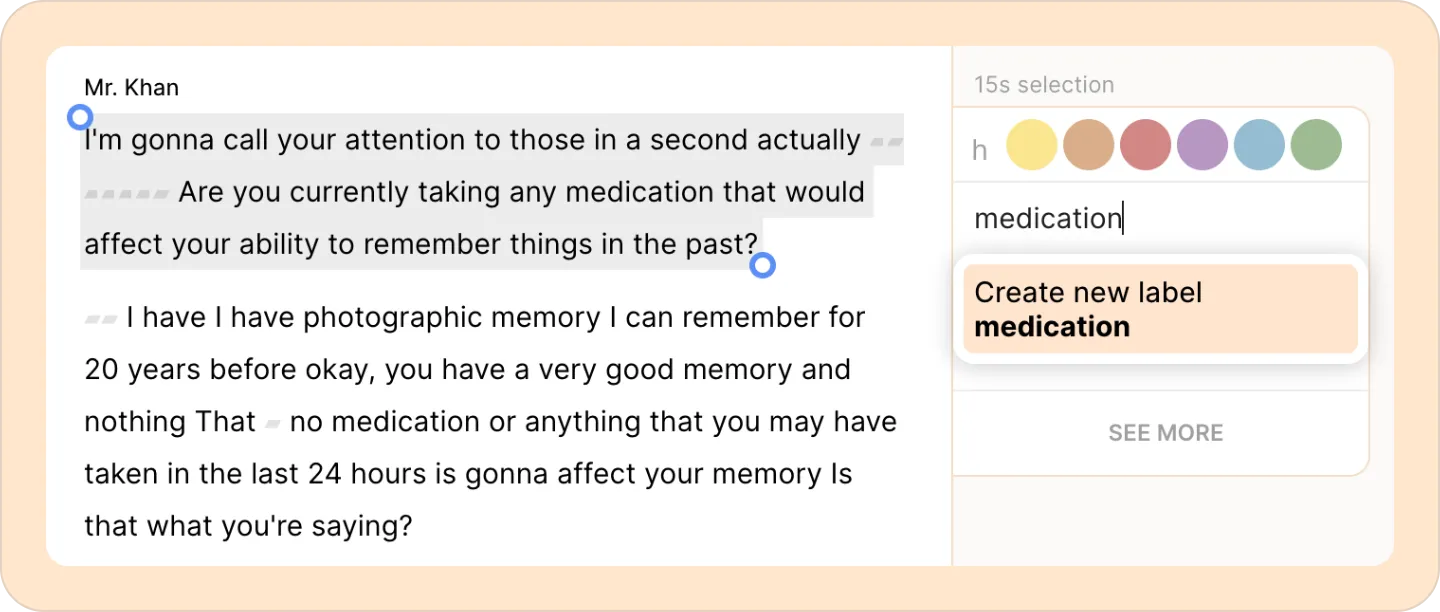
You’ll also see AI-generated label suggestions based on your selection. Feel free to choose from those if they’re relevant. The filled ones are existing labels in your project; the ones starting with a + will add that label to your project.

Accessing and filtering highlights for easy navigation
Quickly find labeled highlights
All your labels are accessible from the left-hand side panel in Reduct. You can also filter them by label name or highlight color to easily locate them.
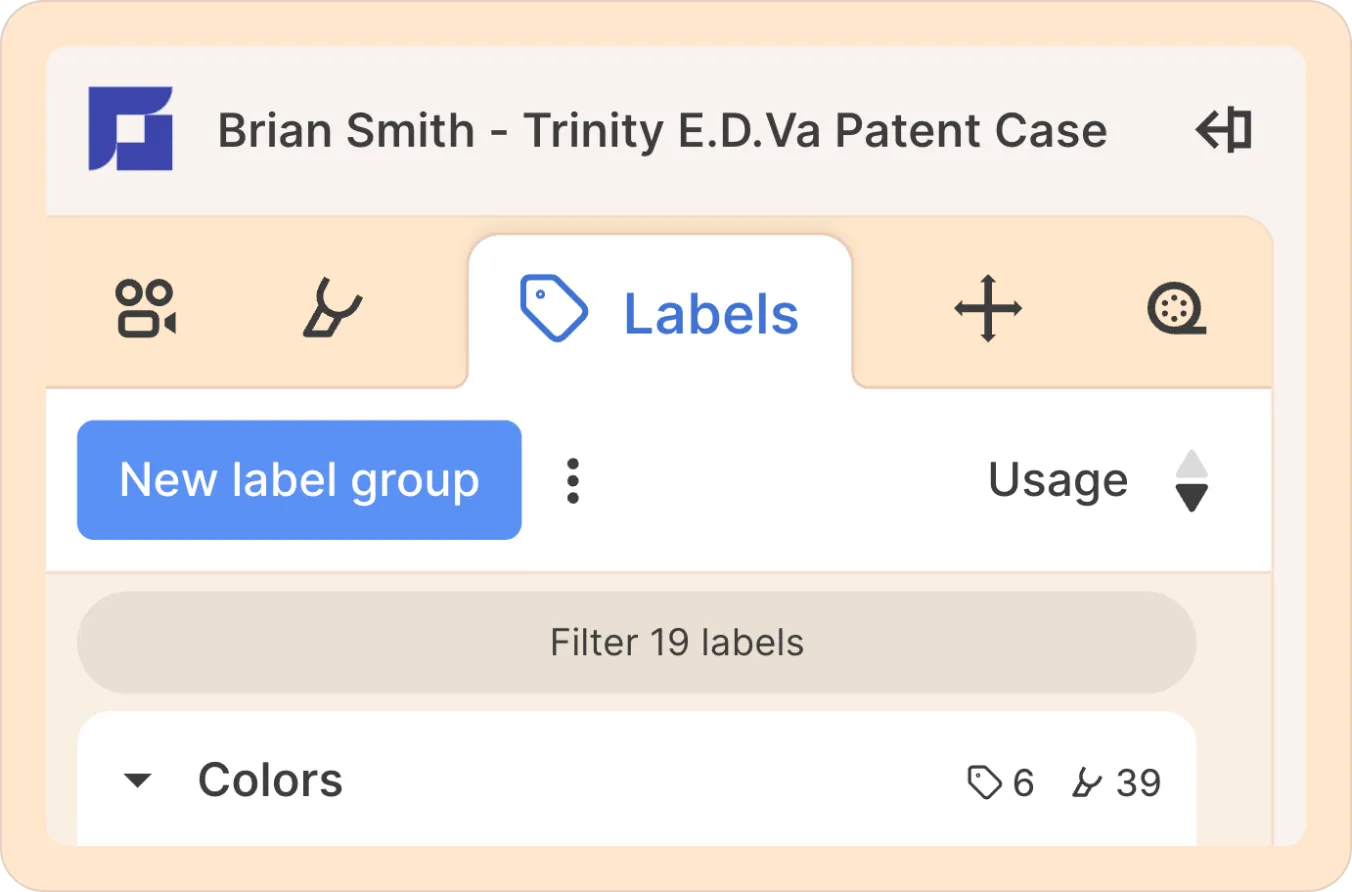
- Click on the Labels tab at the top of the left-hand side panel.

- Scroll through the labels listed alphabetically, and click on the one you want to view. Or click on Filter. Then, type in the label name or highlight color you’re looking for and then click on it to view the results.
Renaming labels
- Go to Labels in the left-hand side panel.

- Hover over the label you want to rename, then click the three-dot kebab (︙) menu next to it.

- Select the Rename option.

- Now enter the new name for the label and press Enter.
Grouping labels
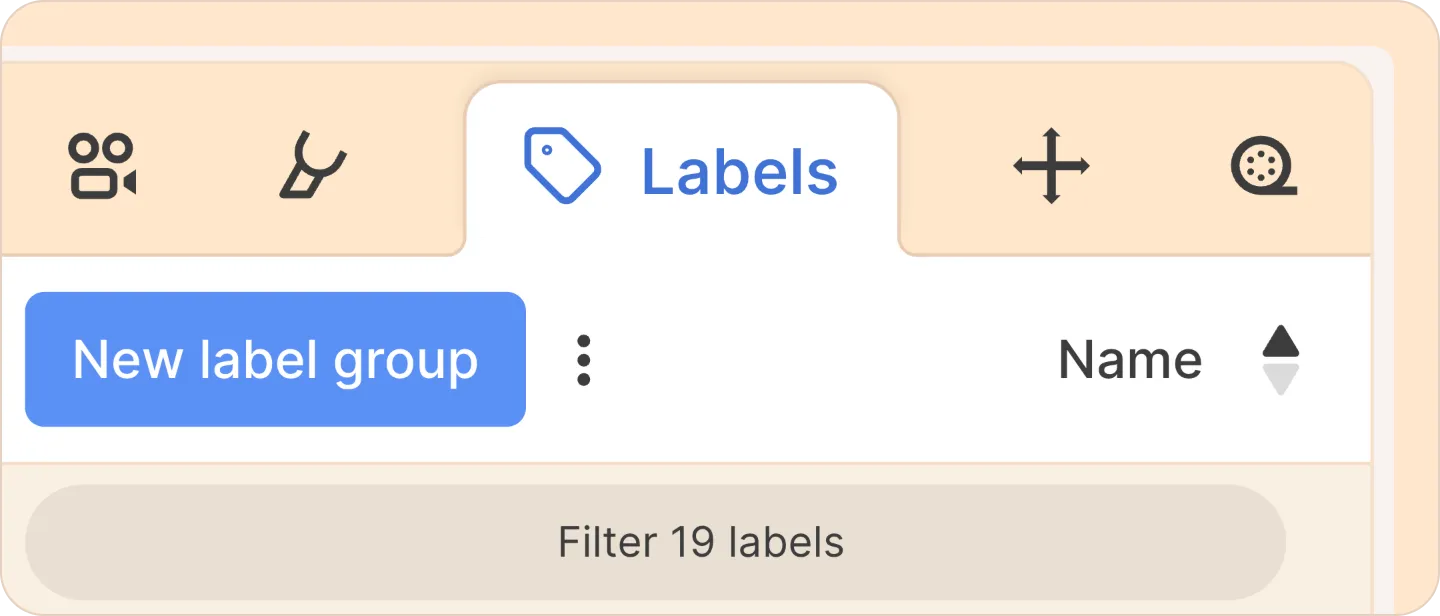
- Go to Labels in the left-hand side panel.
- Click New label group.
A new group will appear below your existing label groups, ready for you to name it and start organizing your labels.
You can drag and drop labels between groups, or create new labels in any existing group. You can also click on the kebab menu for a given label and choose to “Move to group…” instead of drag-and-dropping.
Merging labels
- Go to Labels in the left-hand side panel.
- Hover over the label you want to merge, then click the three-dot kebab (︙) menu next to it.

- Click Merge with…

- Now choose the label you want to merge it with. The two labels will be combined, with all associated items now being labeled with the label you merged into.

Additionally, you can rename labels, rename or delete label groups, and perform other actions using the three-dot kebab (︙) menu, as described above.